by Brian Wood, Harvest Homeowner
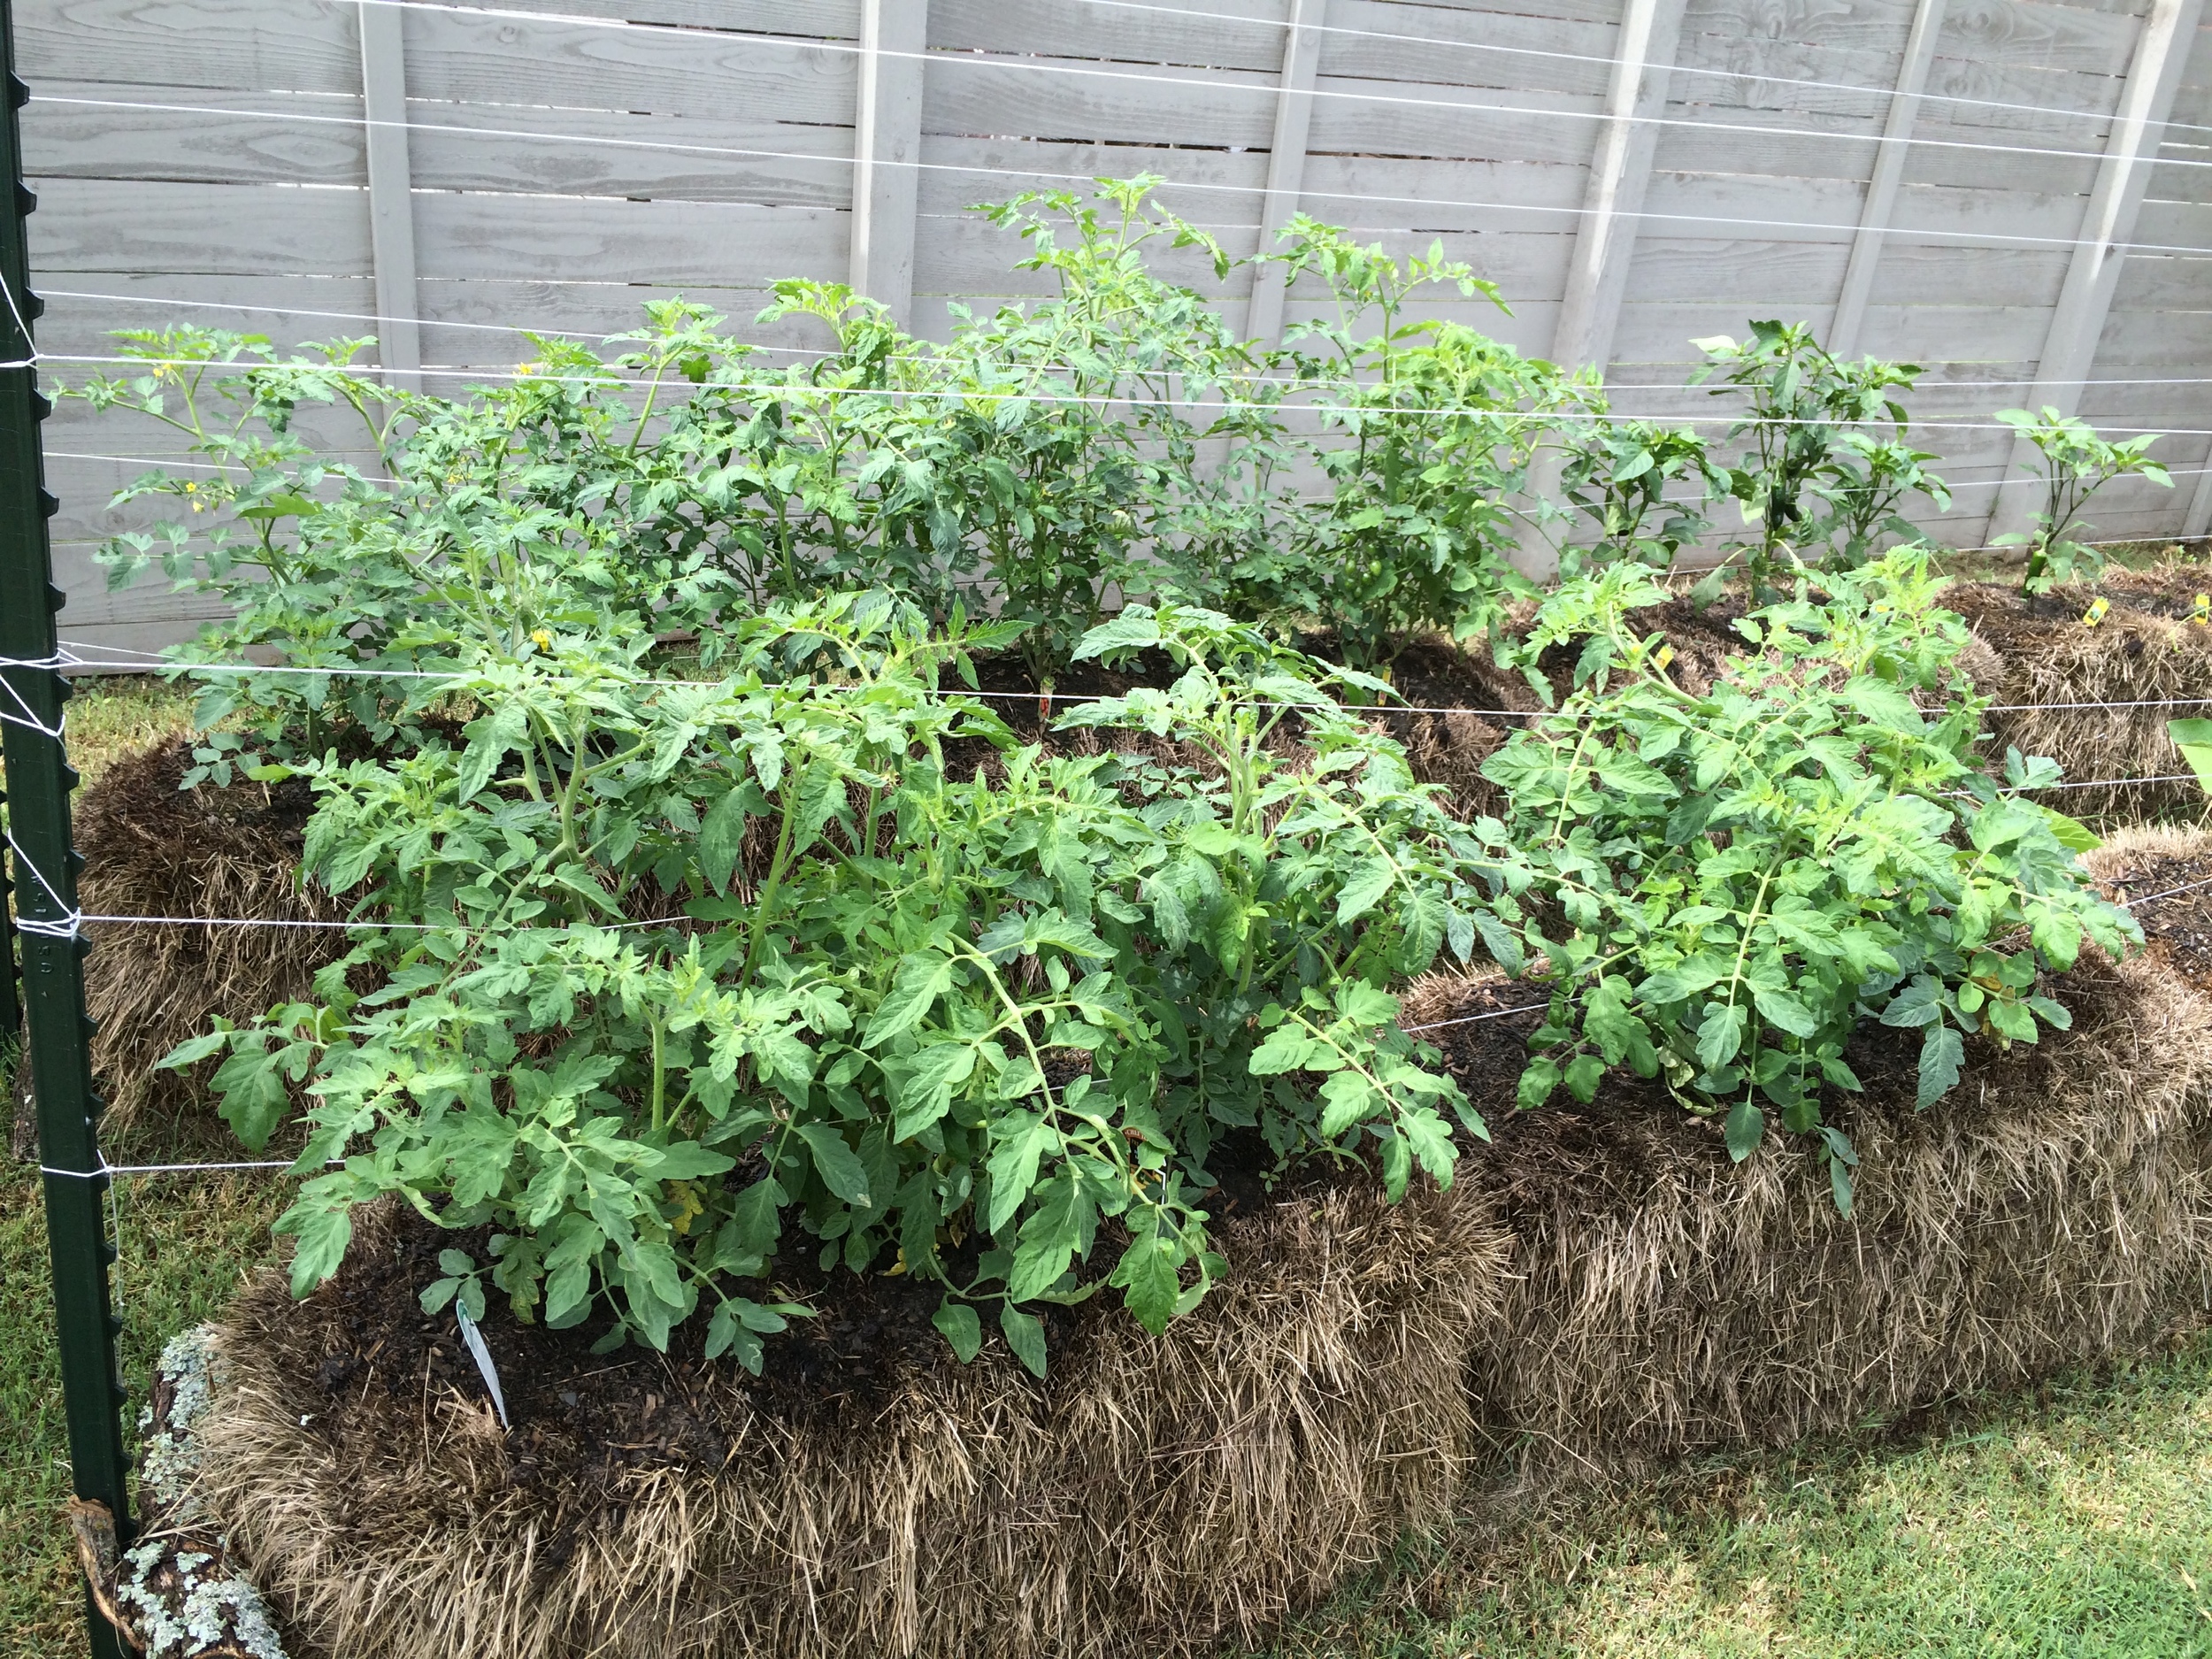
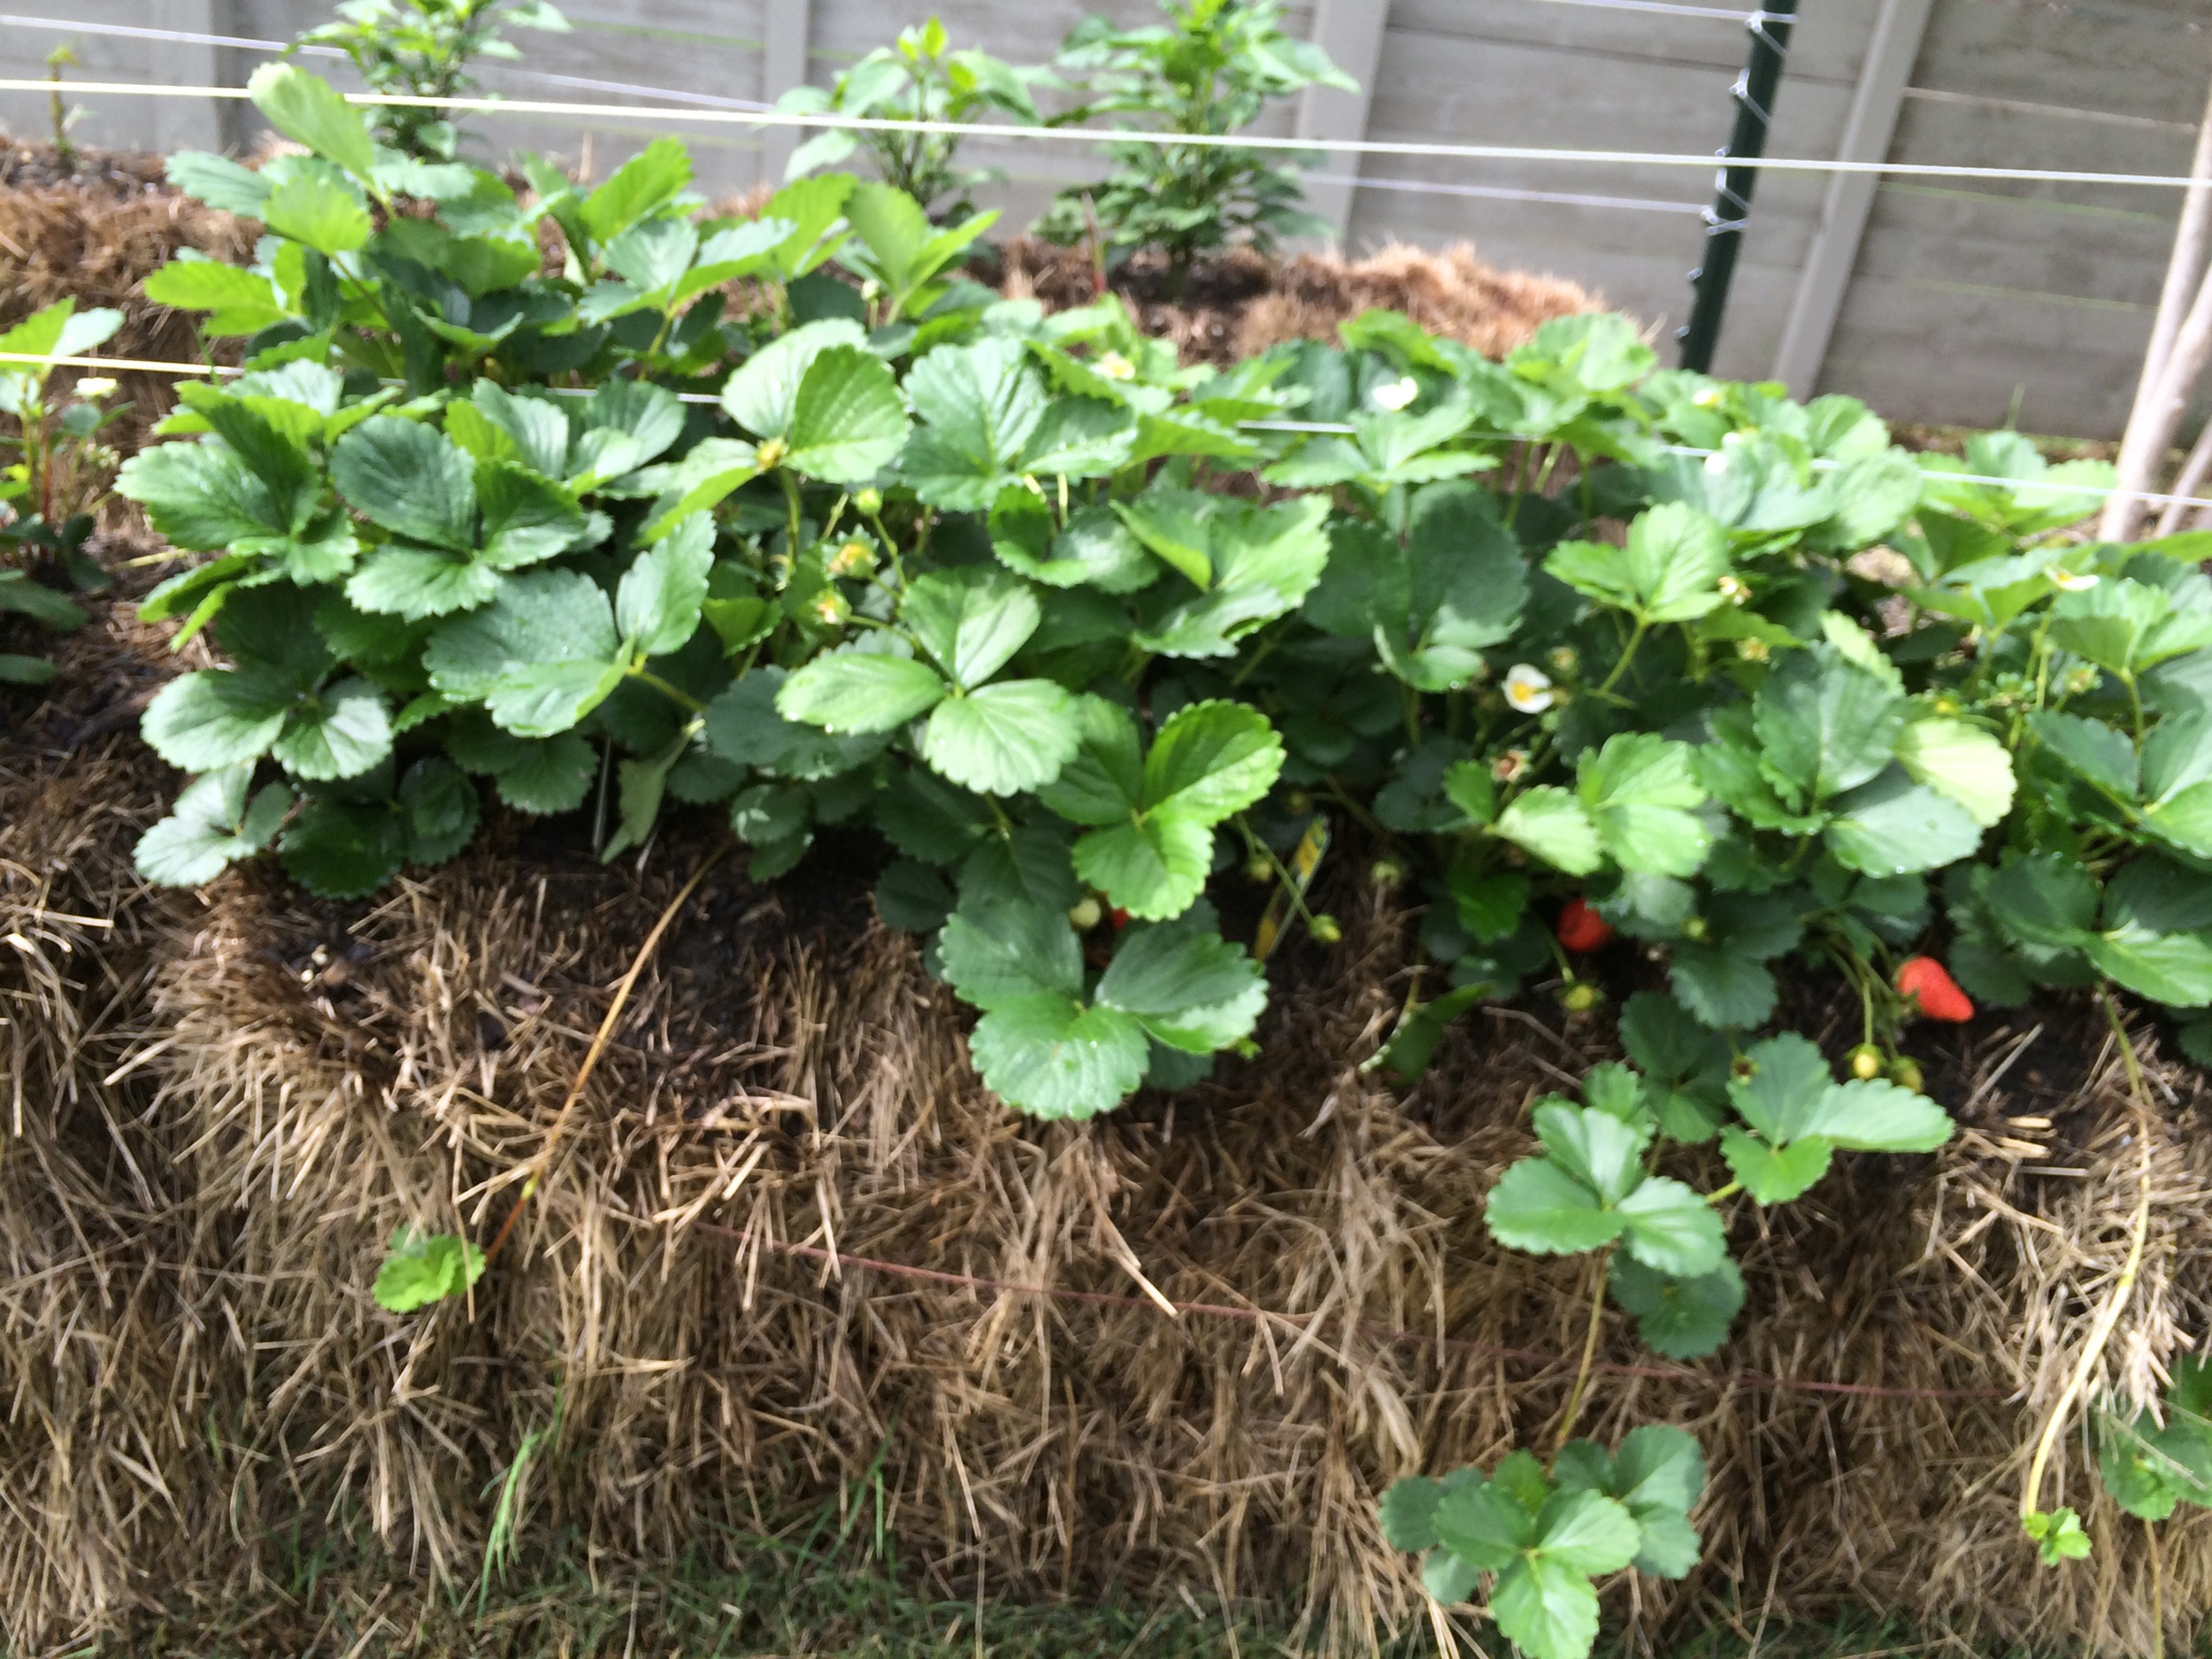
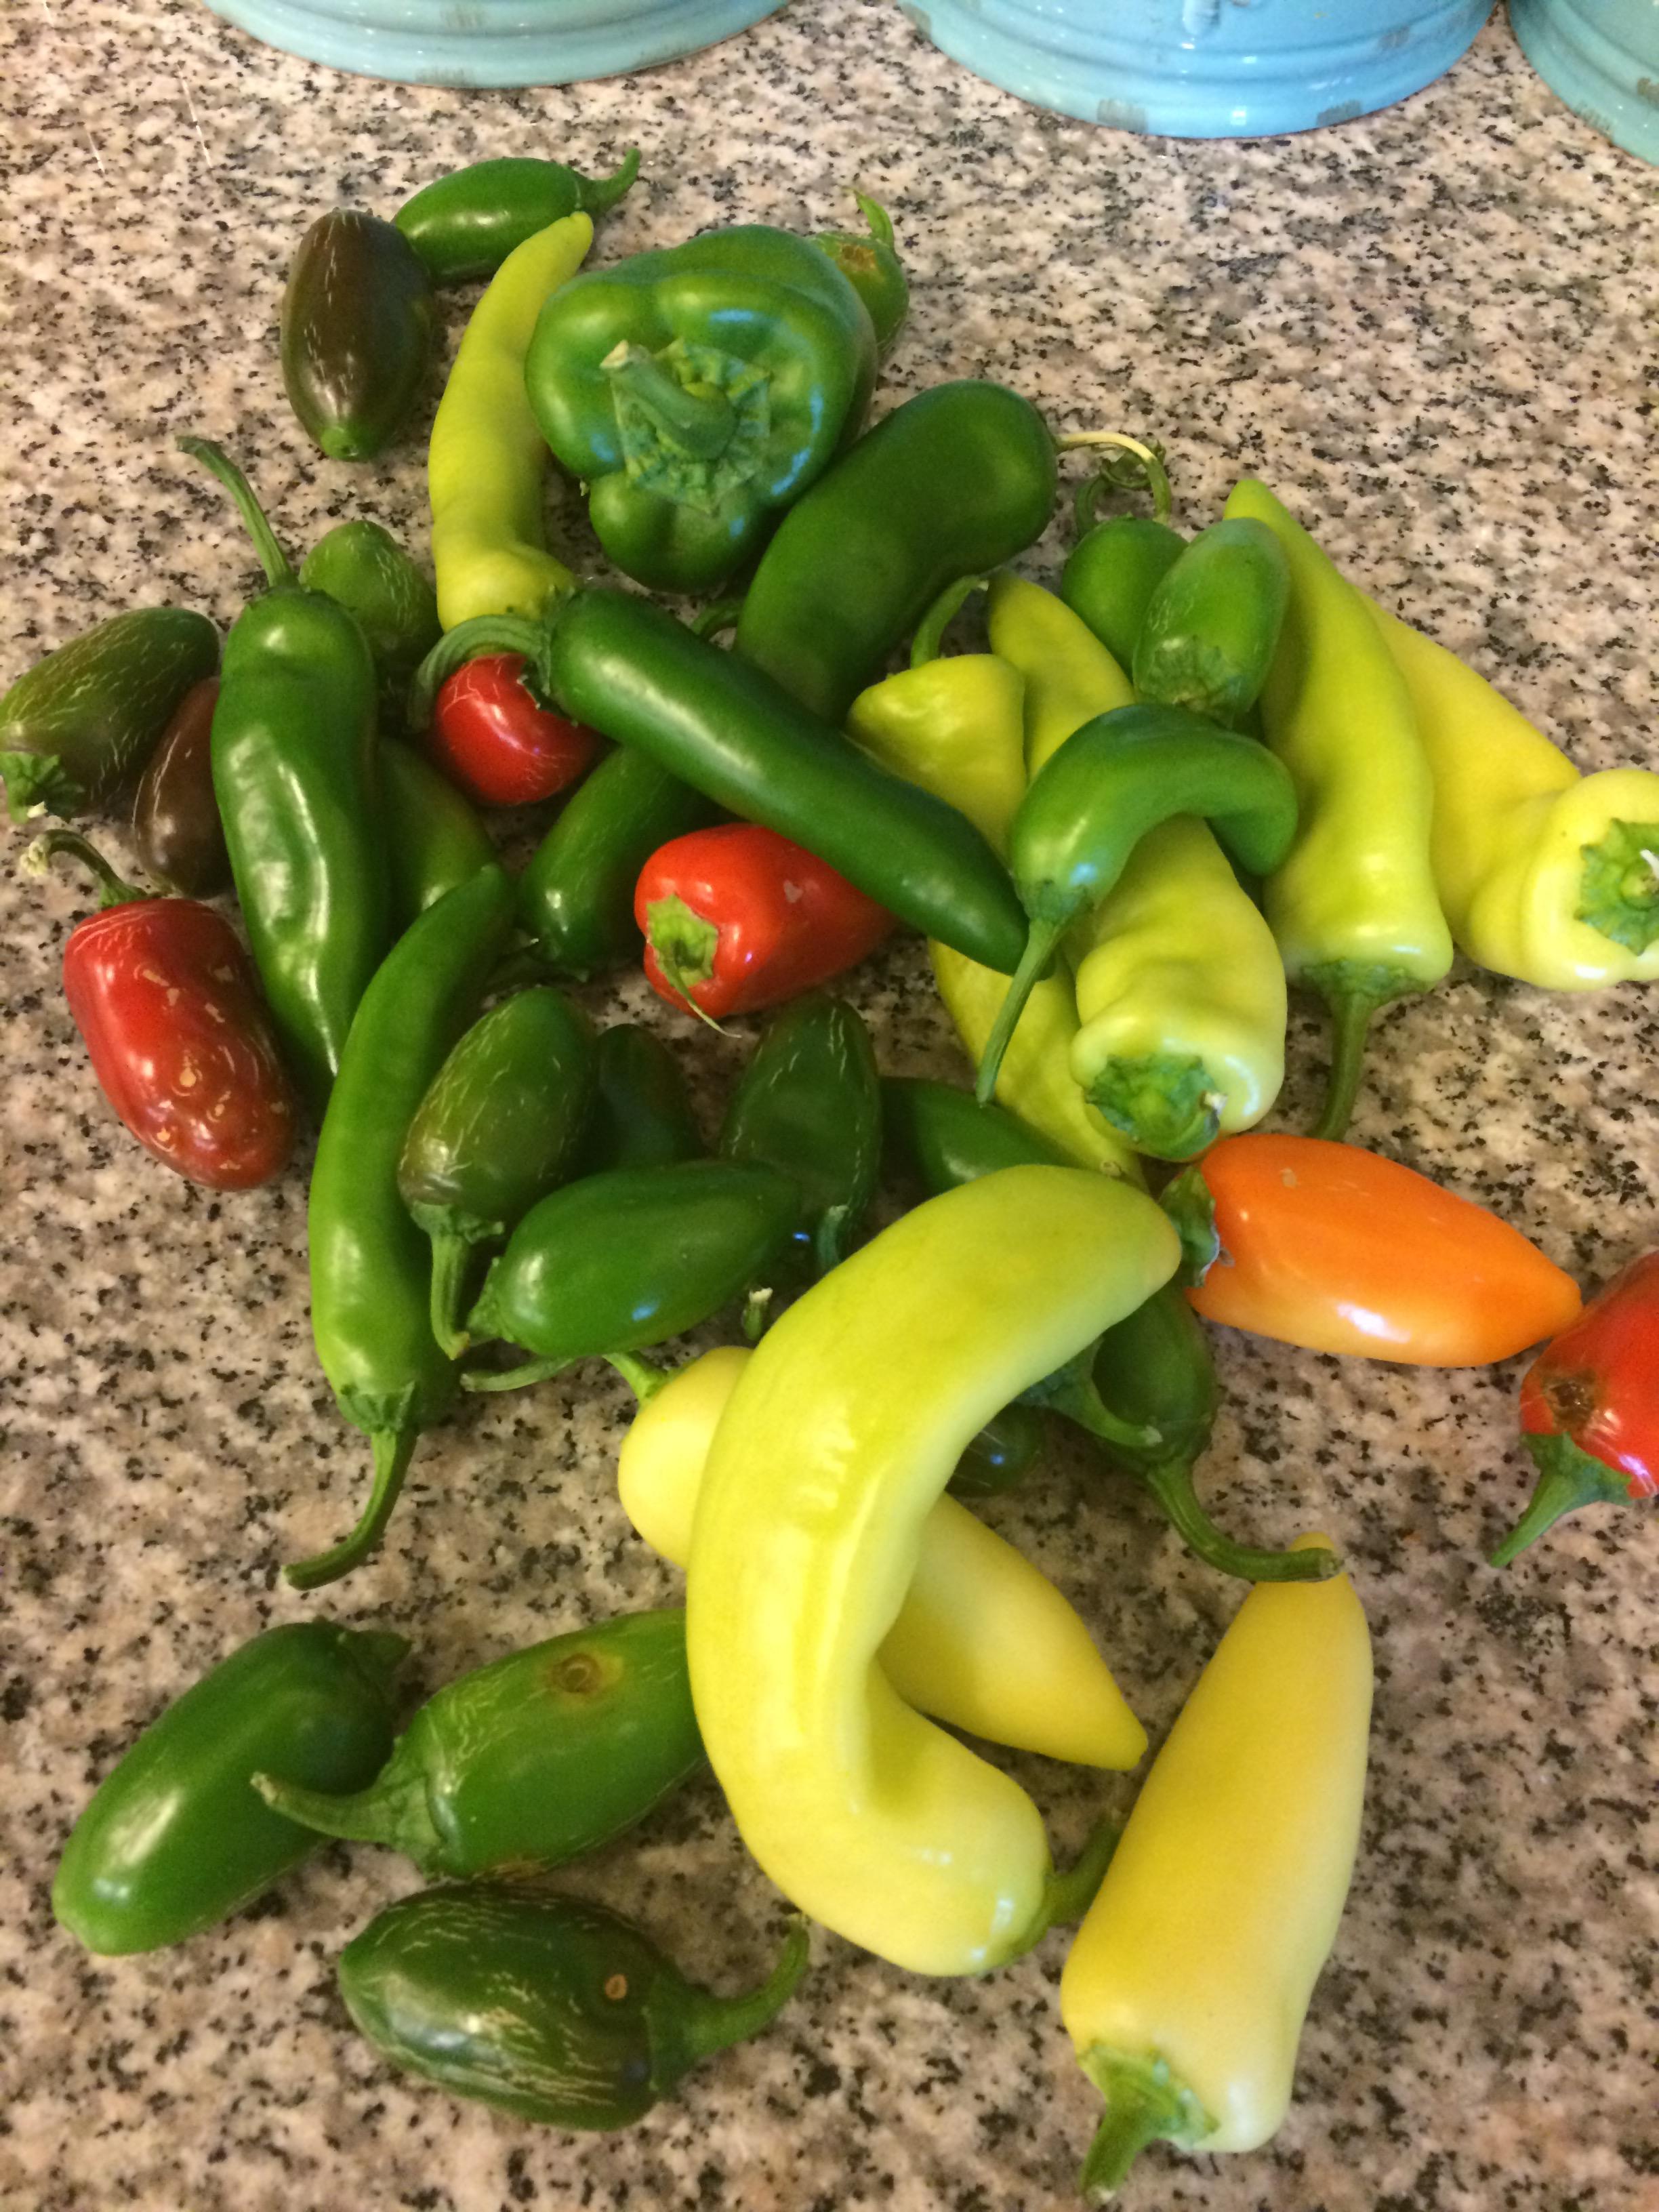
A thrifty, versatile way to garden is to create a straw bale garden. It’s inexpensive and you can put it anywhere since no soil is required. I put one in my backyard because I wanted a fun way to create a low maintenance garden while keeping with the garden theme of Harvest. There is no over watering, no weeding (yay), and at the end of the season you can compost the left over bales. How’s that for recycling?!
Some tips that I have learned along the way:
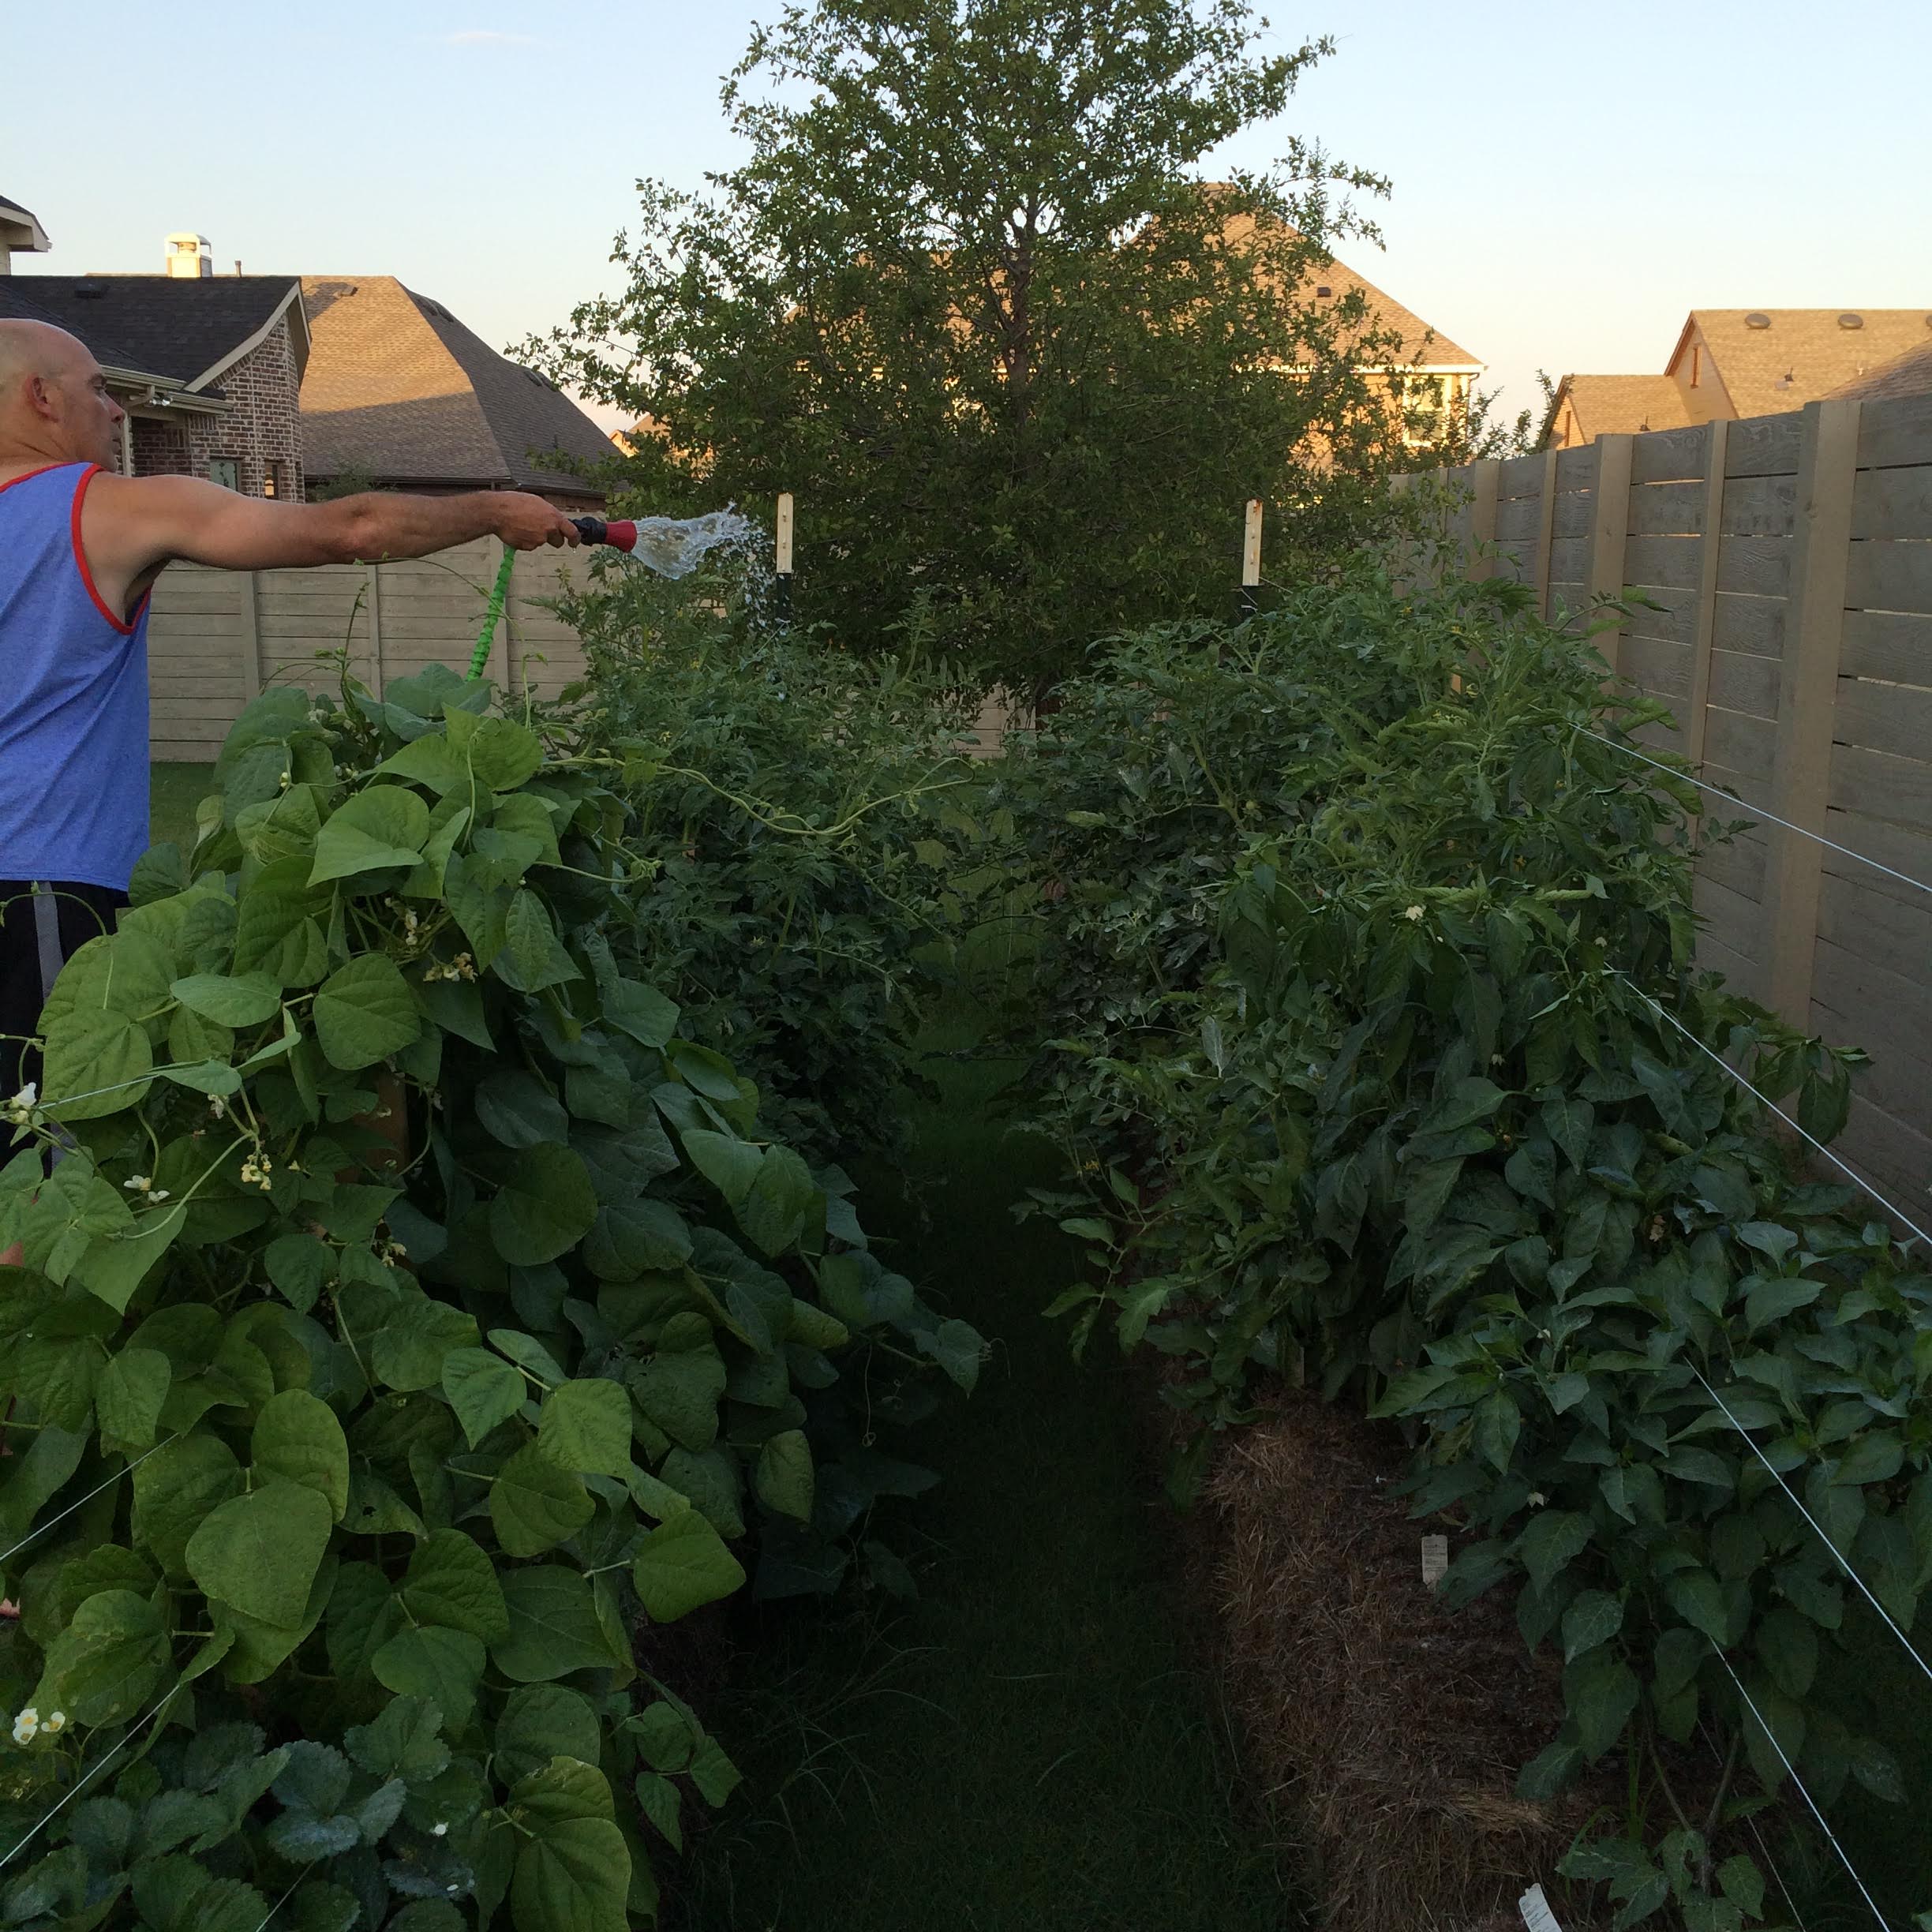
- Since there is very little water retention, you have to water A LOT. I would recommend installing soaker hoses with a timer to water every morning and evening.
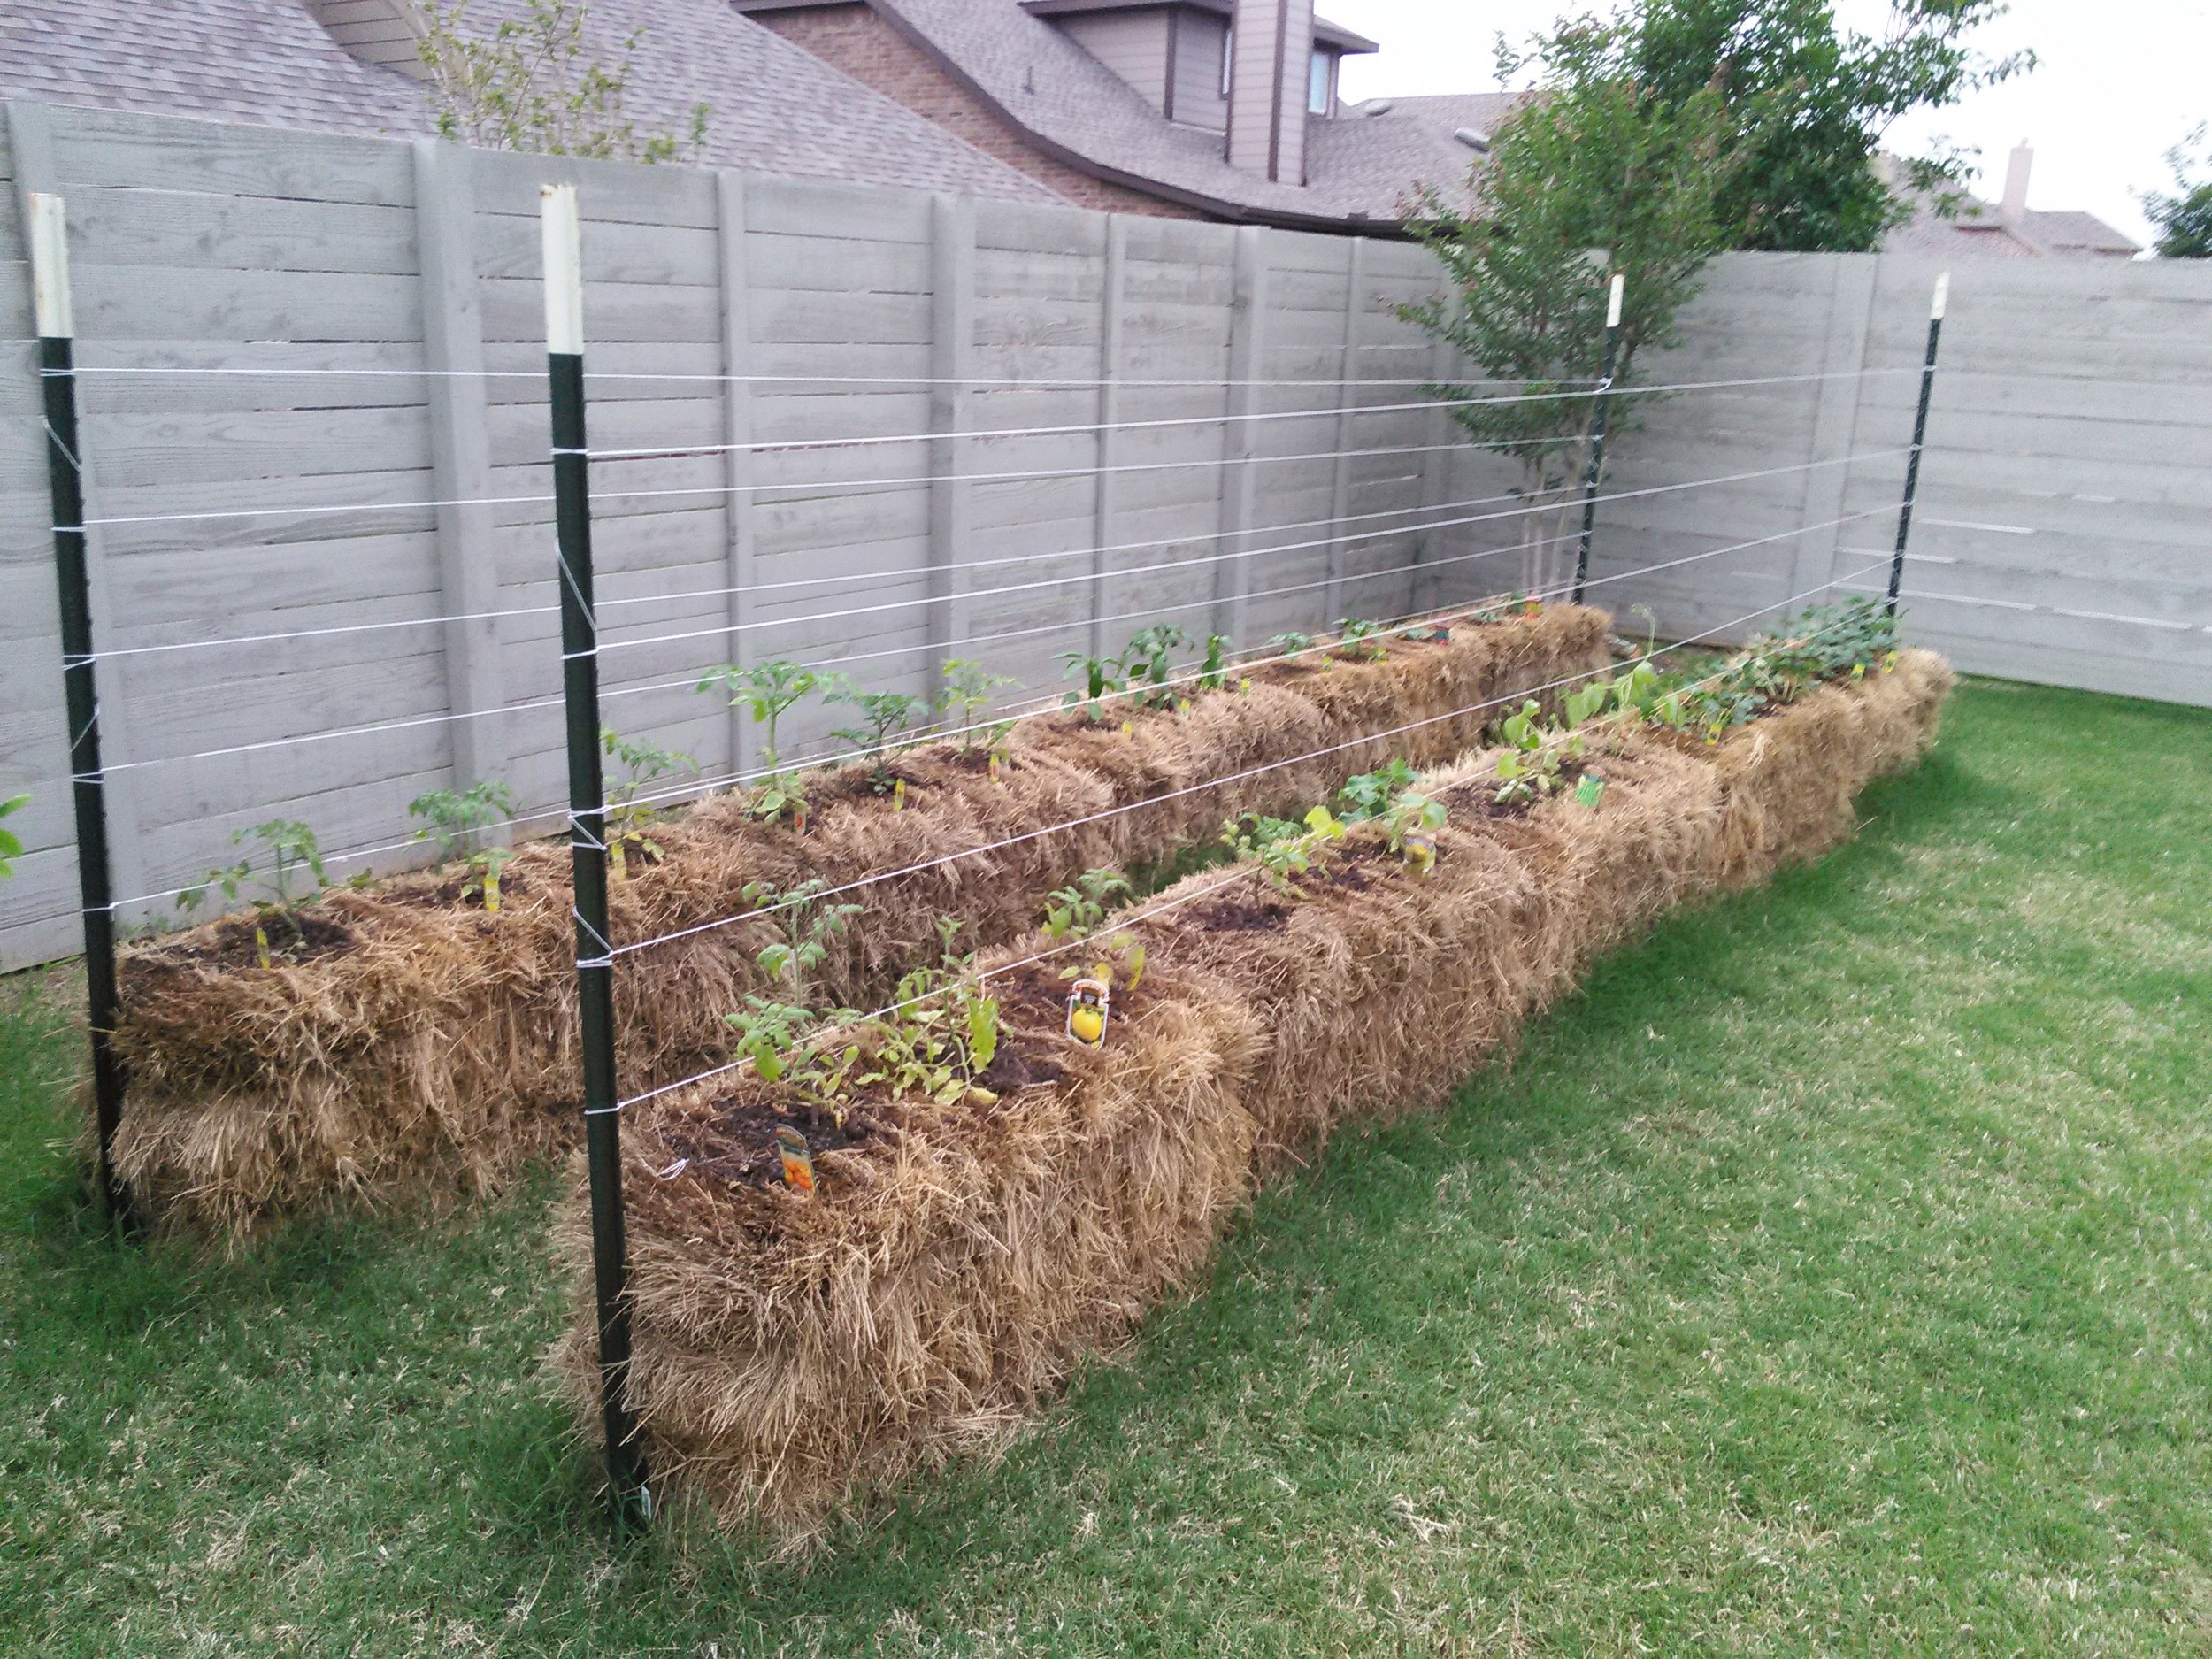
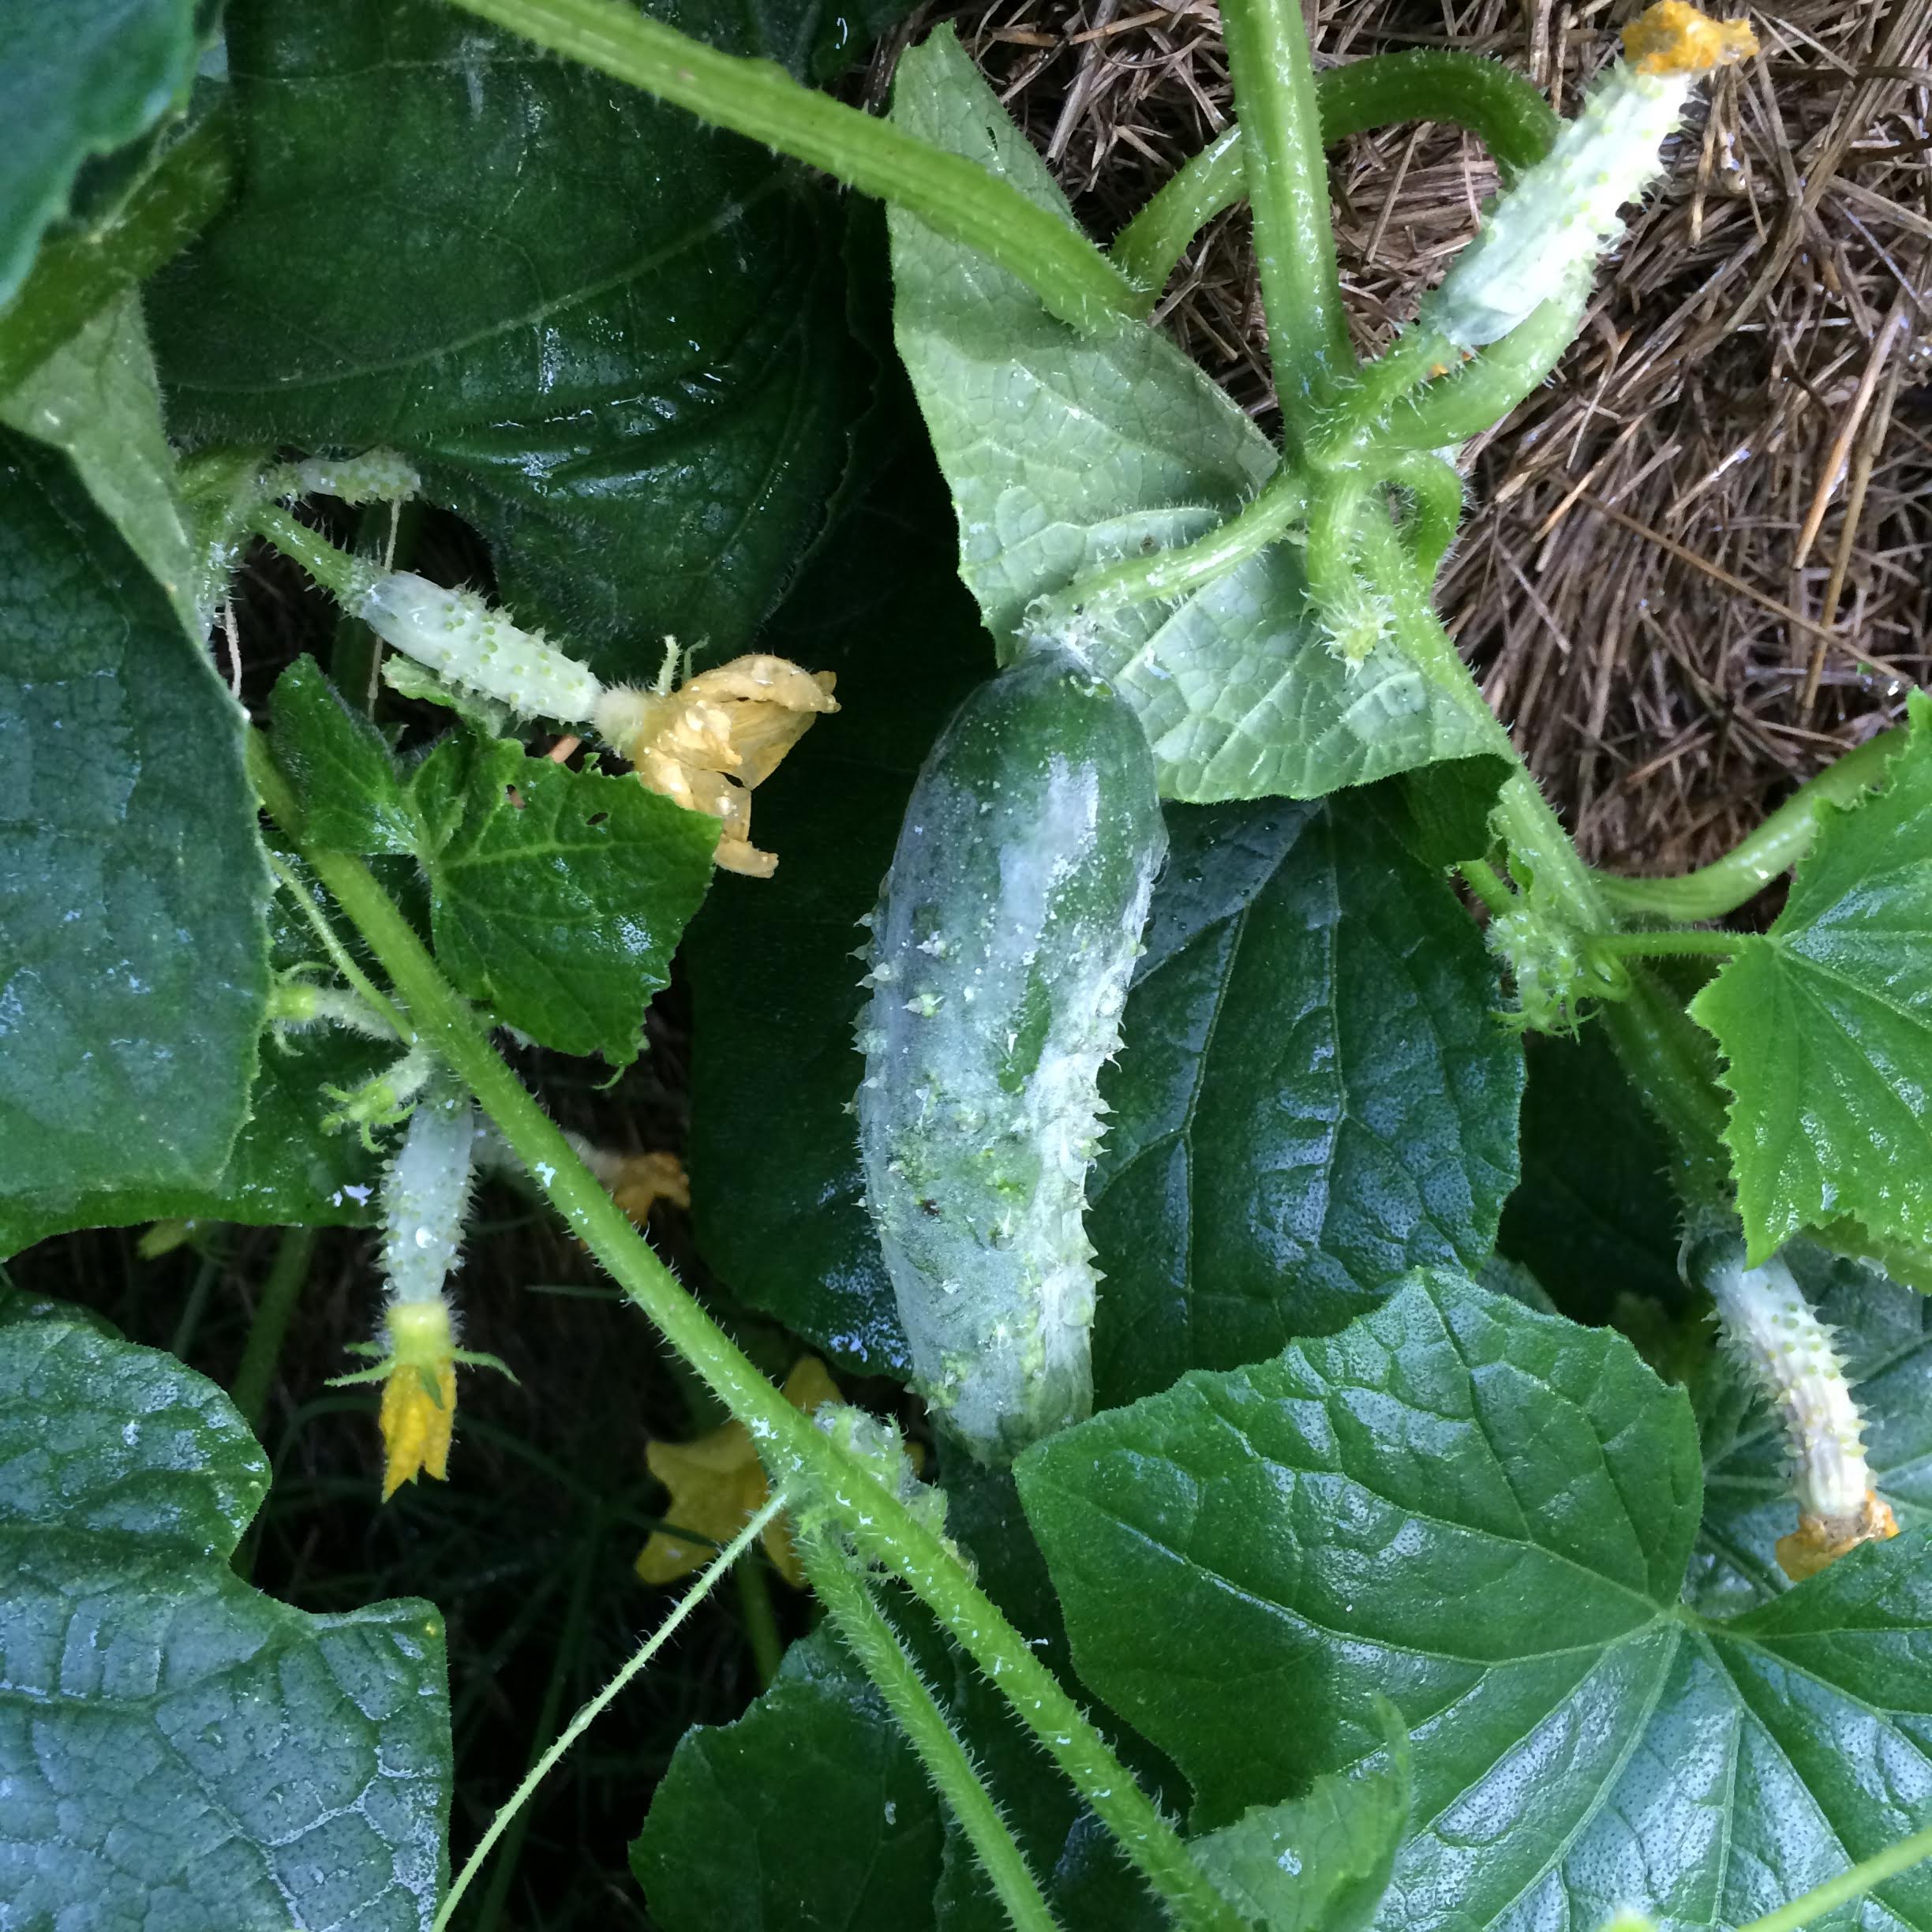
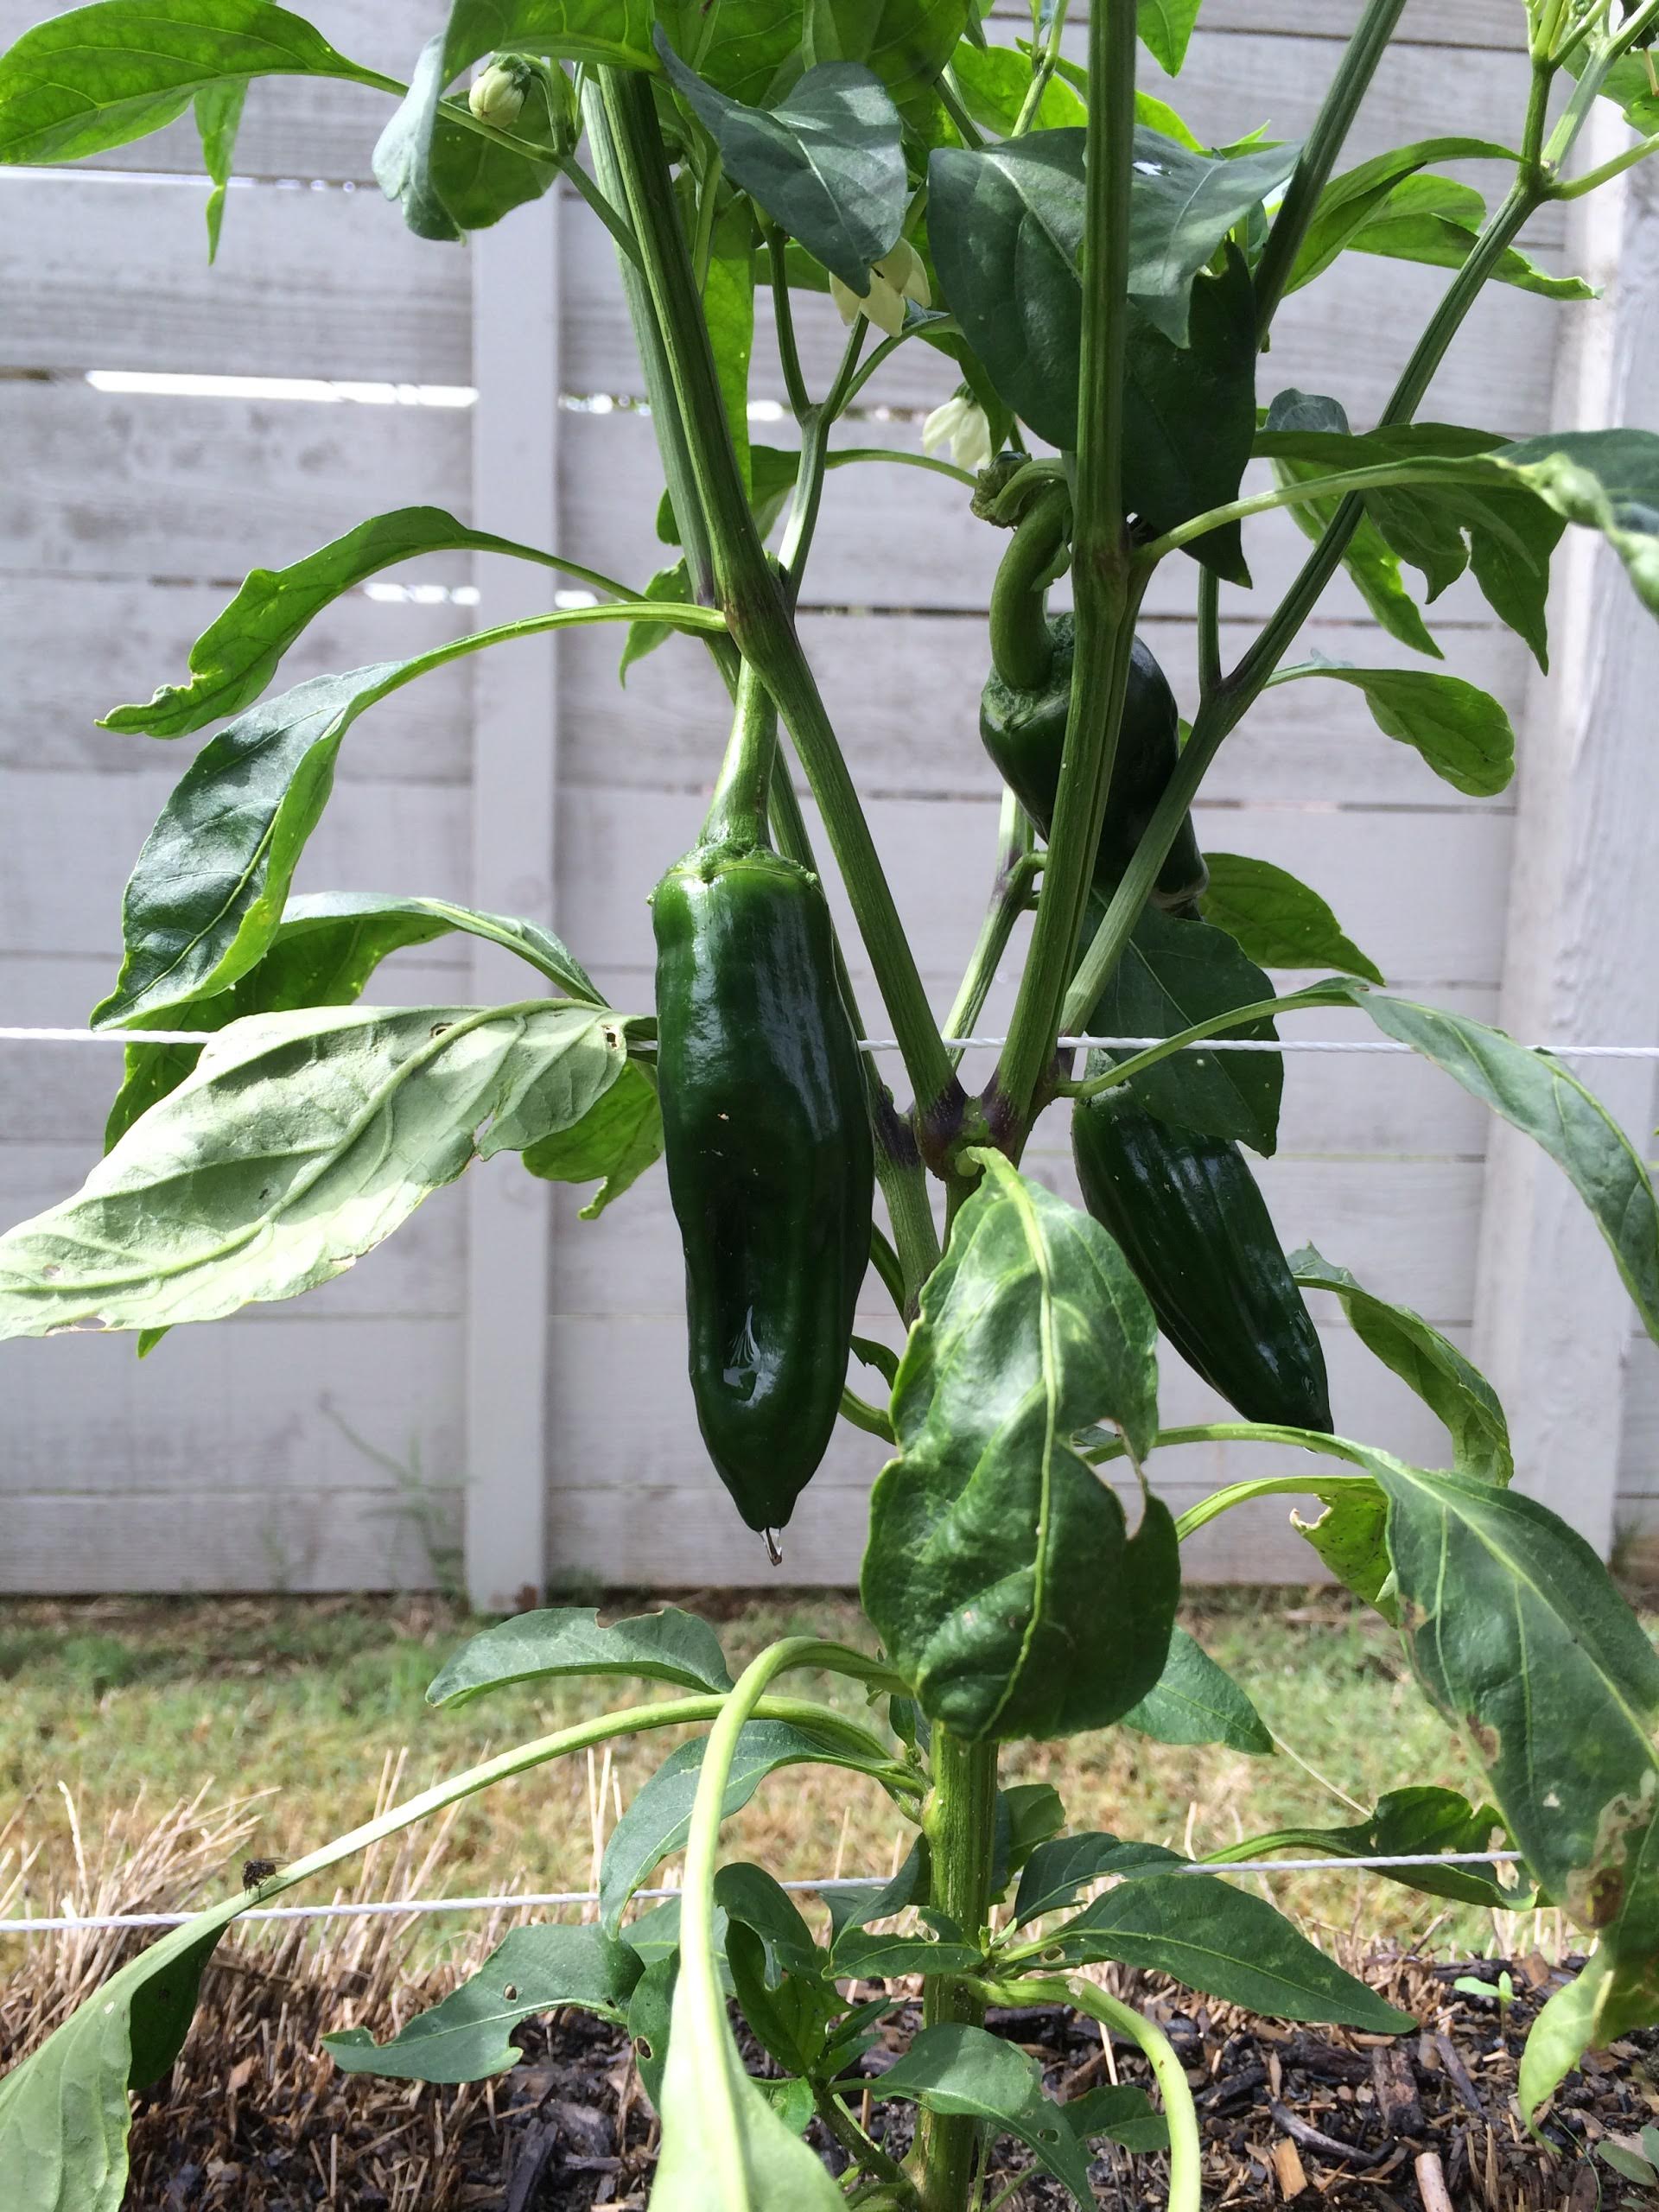
- If you plan on planting climbing plants, you will need to install sturdy trellises or poles with wire stretched across as these plants will get much larger than standard gardens. I used twine and it didn’t hold up to the weight of the plants. I did a rather large garden (12 bales) as I wanted to experiment with a lot of different plants to see what grew best. Everything I planted flourished! I was surprised by the success. Don’t feel like you have to do that large of garden. You can start out with as few as 2 bales of hay.
If you are interested in planting your own straw bale garden, here’s what you are going to need:
- Square straw or hay bales
- High nitrogen fertilizer (34-0-0) or can substitute blood meal
- Soaker hose (recommended)
- Poles or stakes to place at the end of the rows
- Twine, sturdy trellises or poles depending on what you plant
- Seeds or saplings of your choice
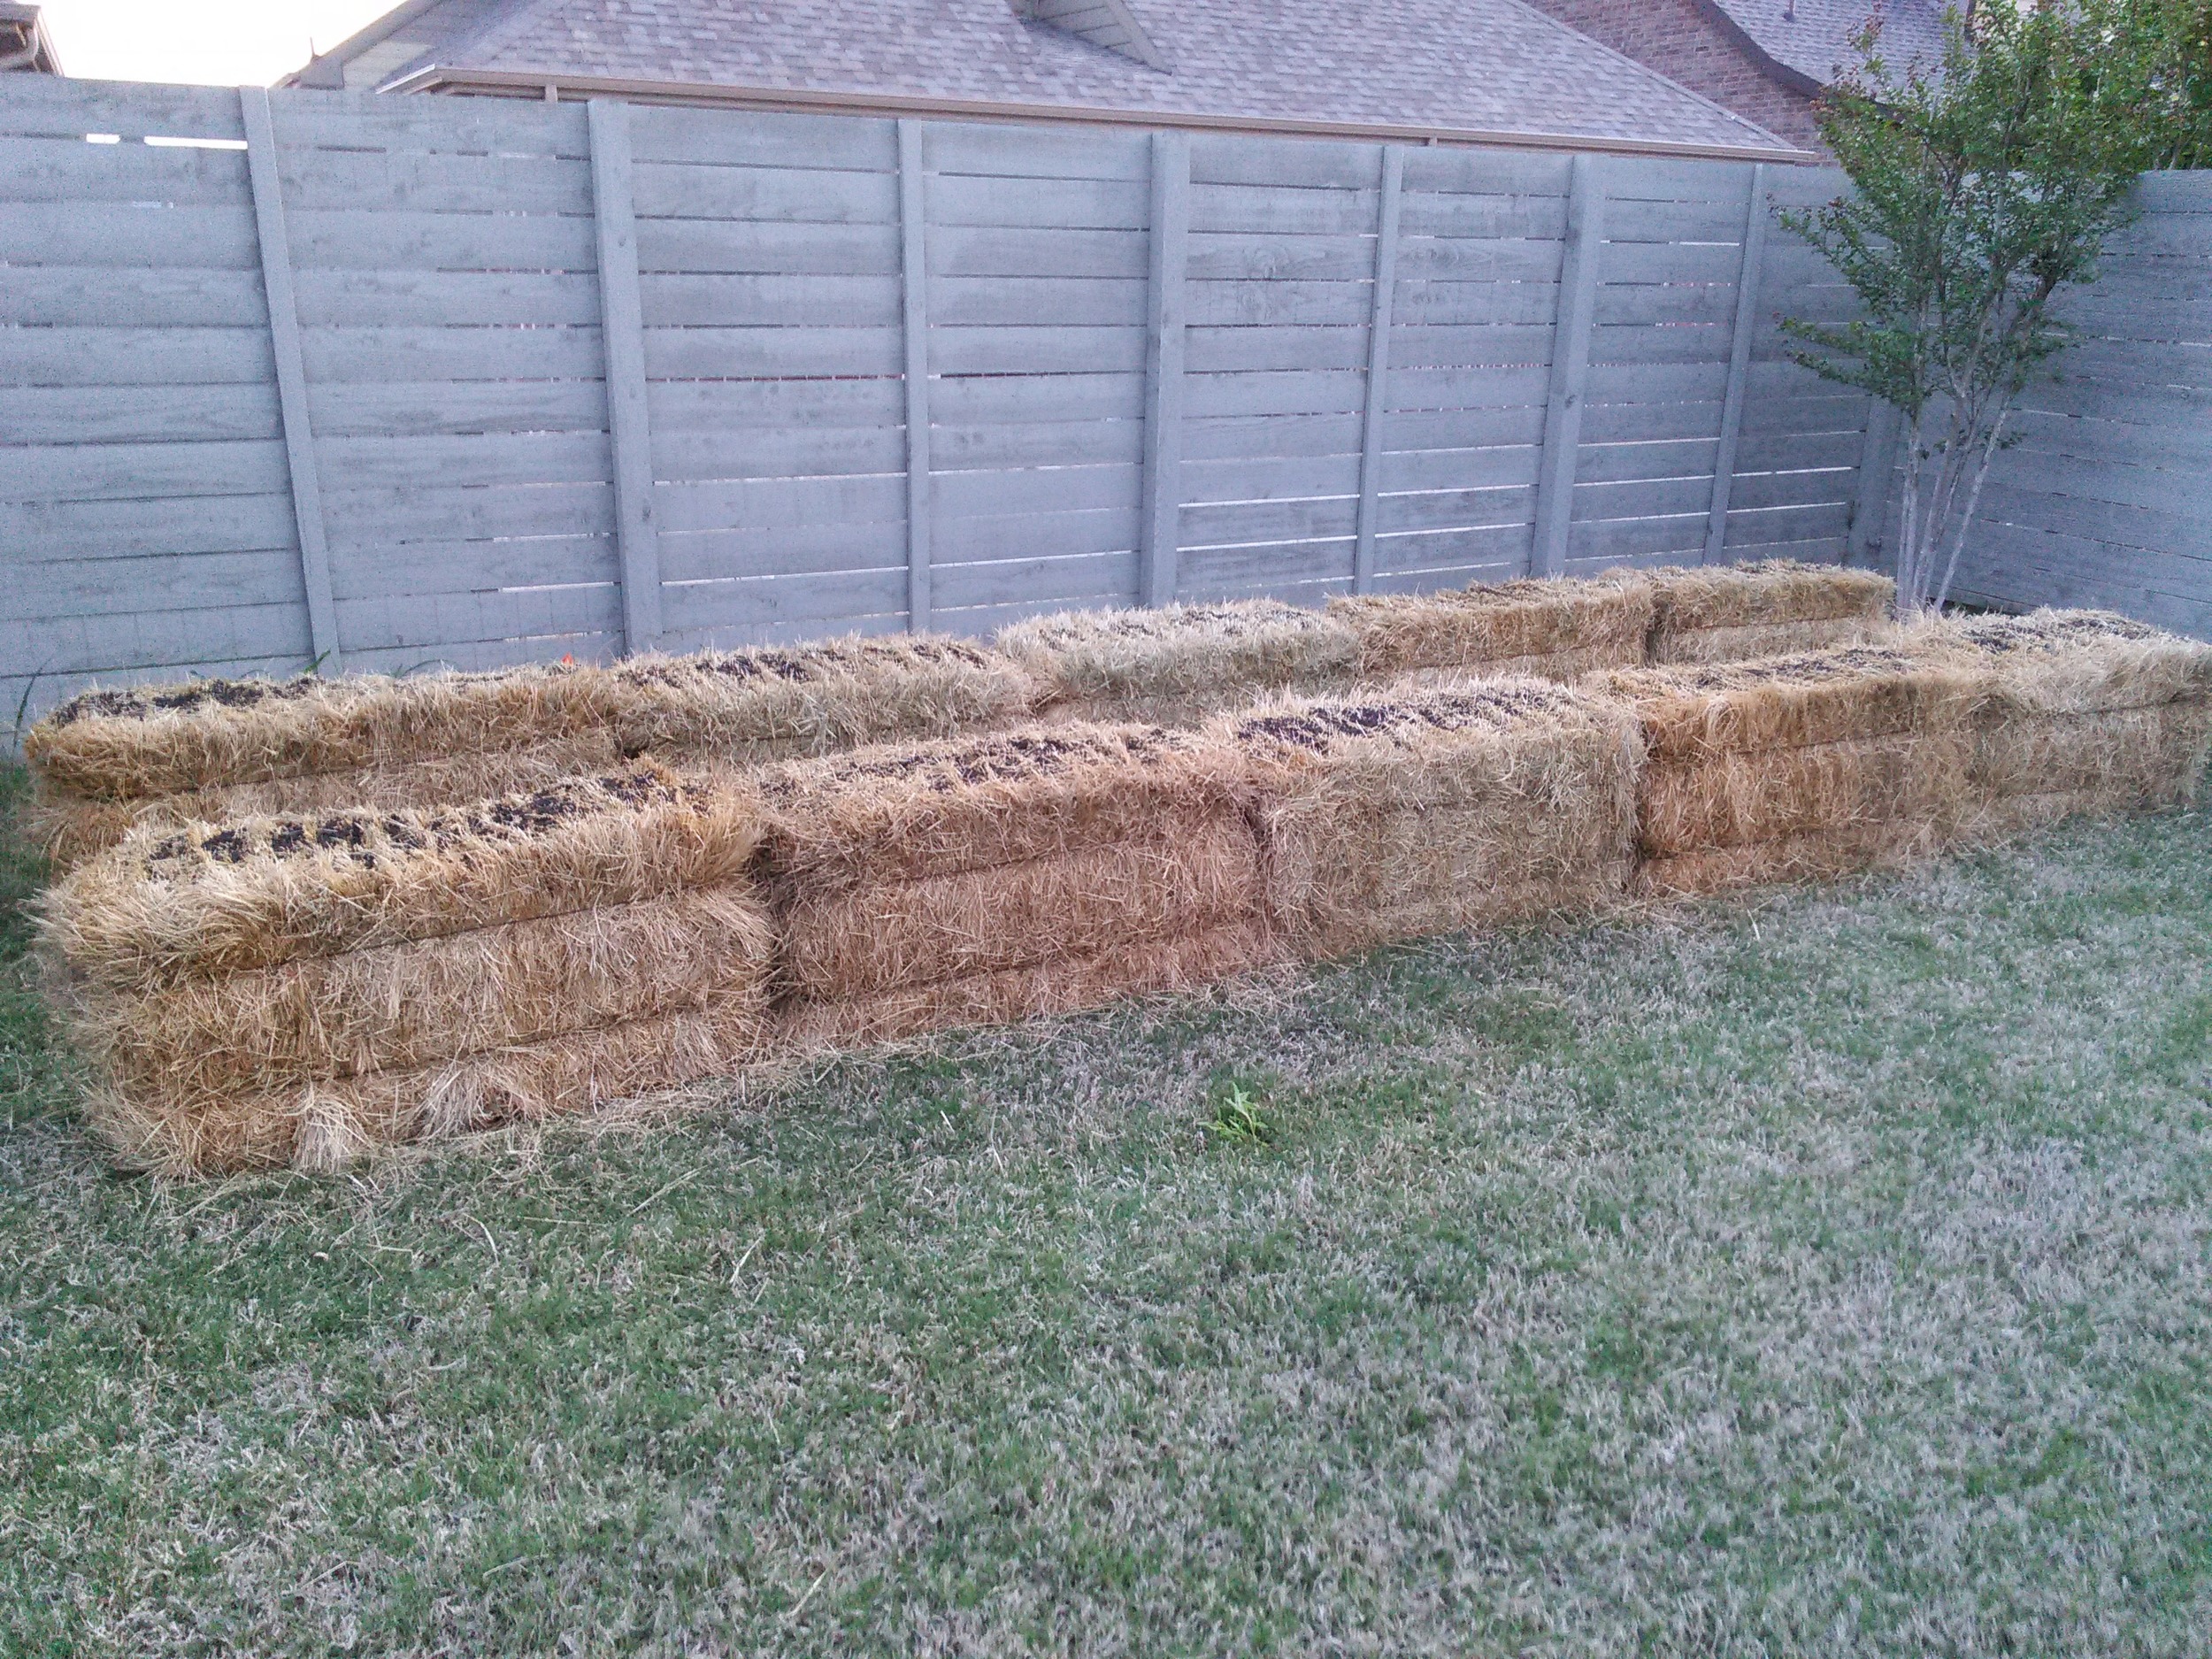
There is a two to three week bed preparation phase to prepare the bales for planting. The first two weeks you apply fertilizer to the top side of the bales where you will be planting. Then, you water each day thoroughly. After two weeks, stop fertilizing and continue watering for one more week. Once you start the growing process, you can continue to apply fertilizer every three weeks.
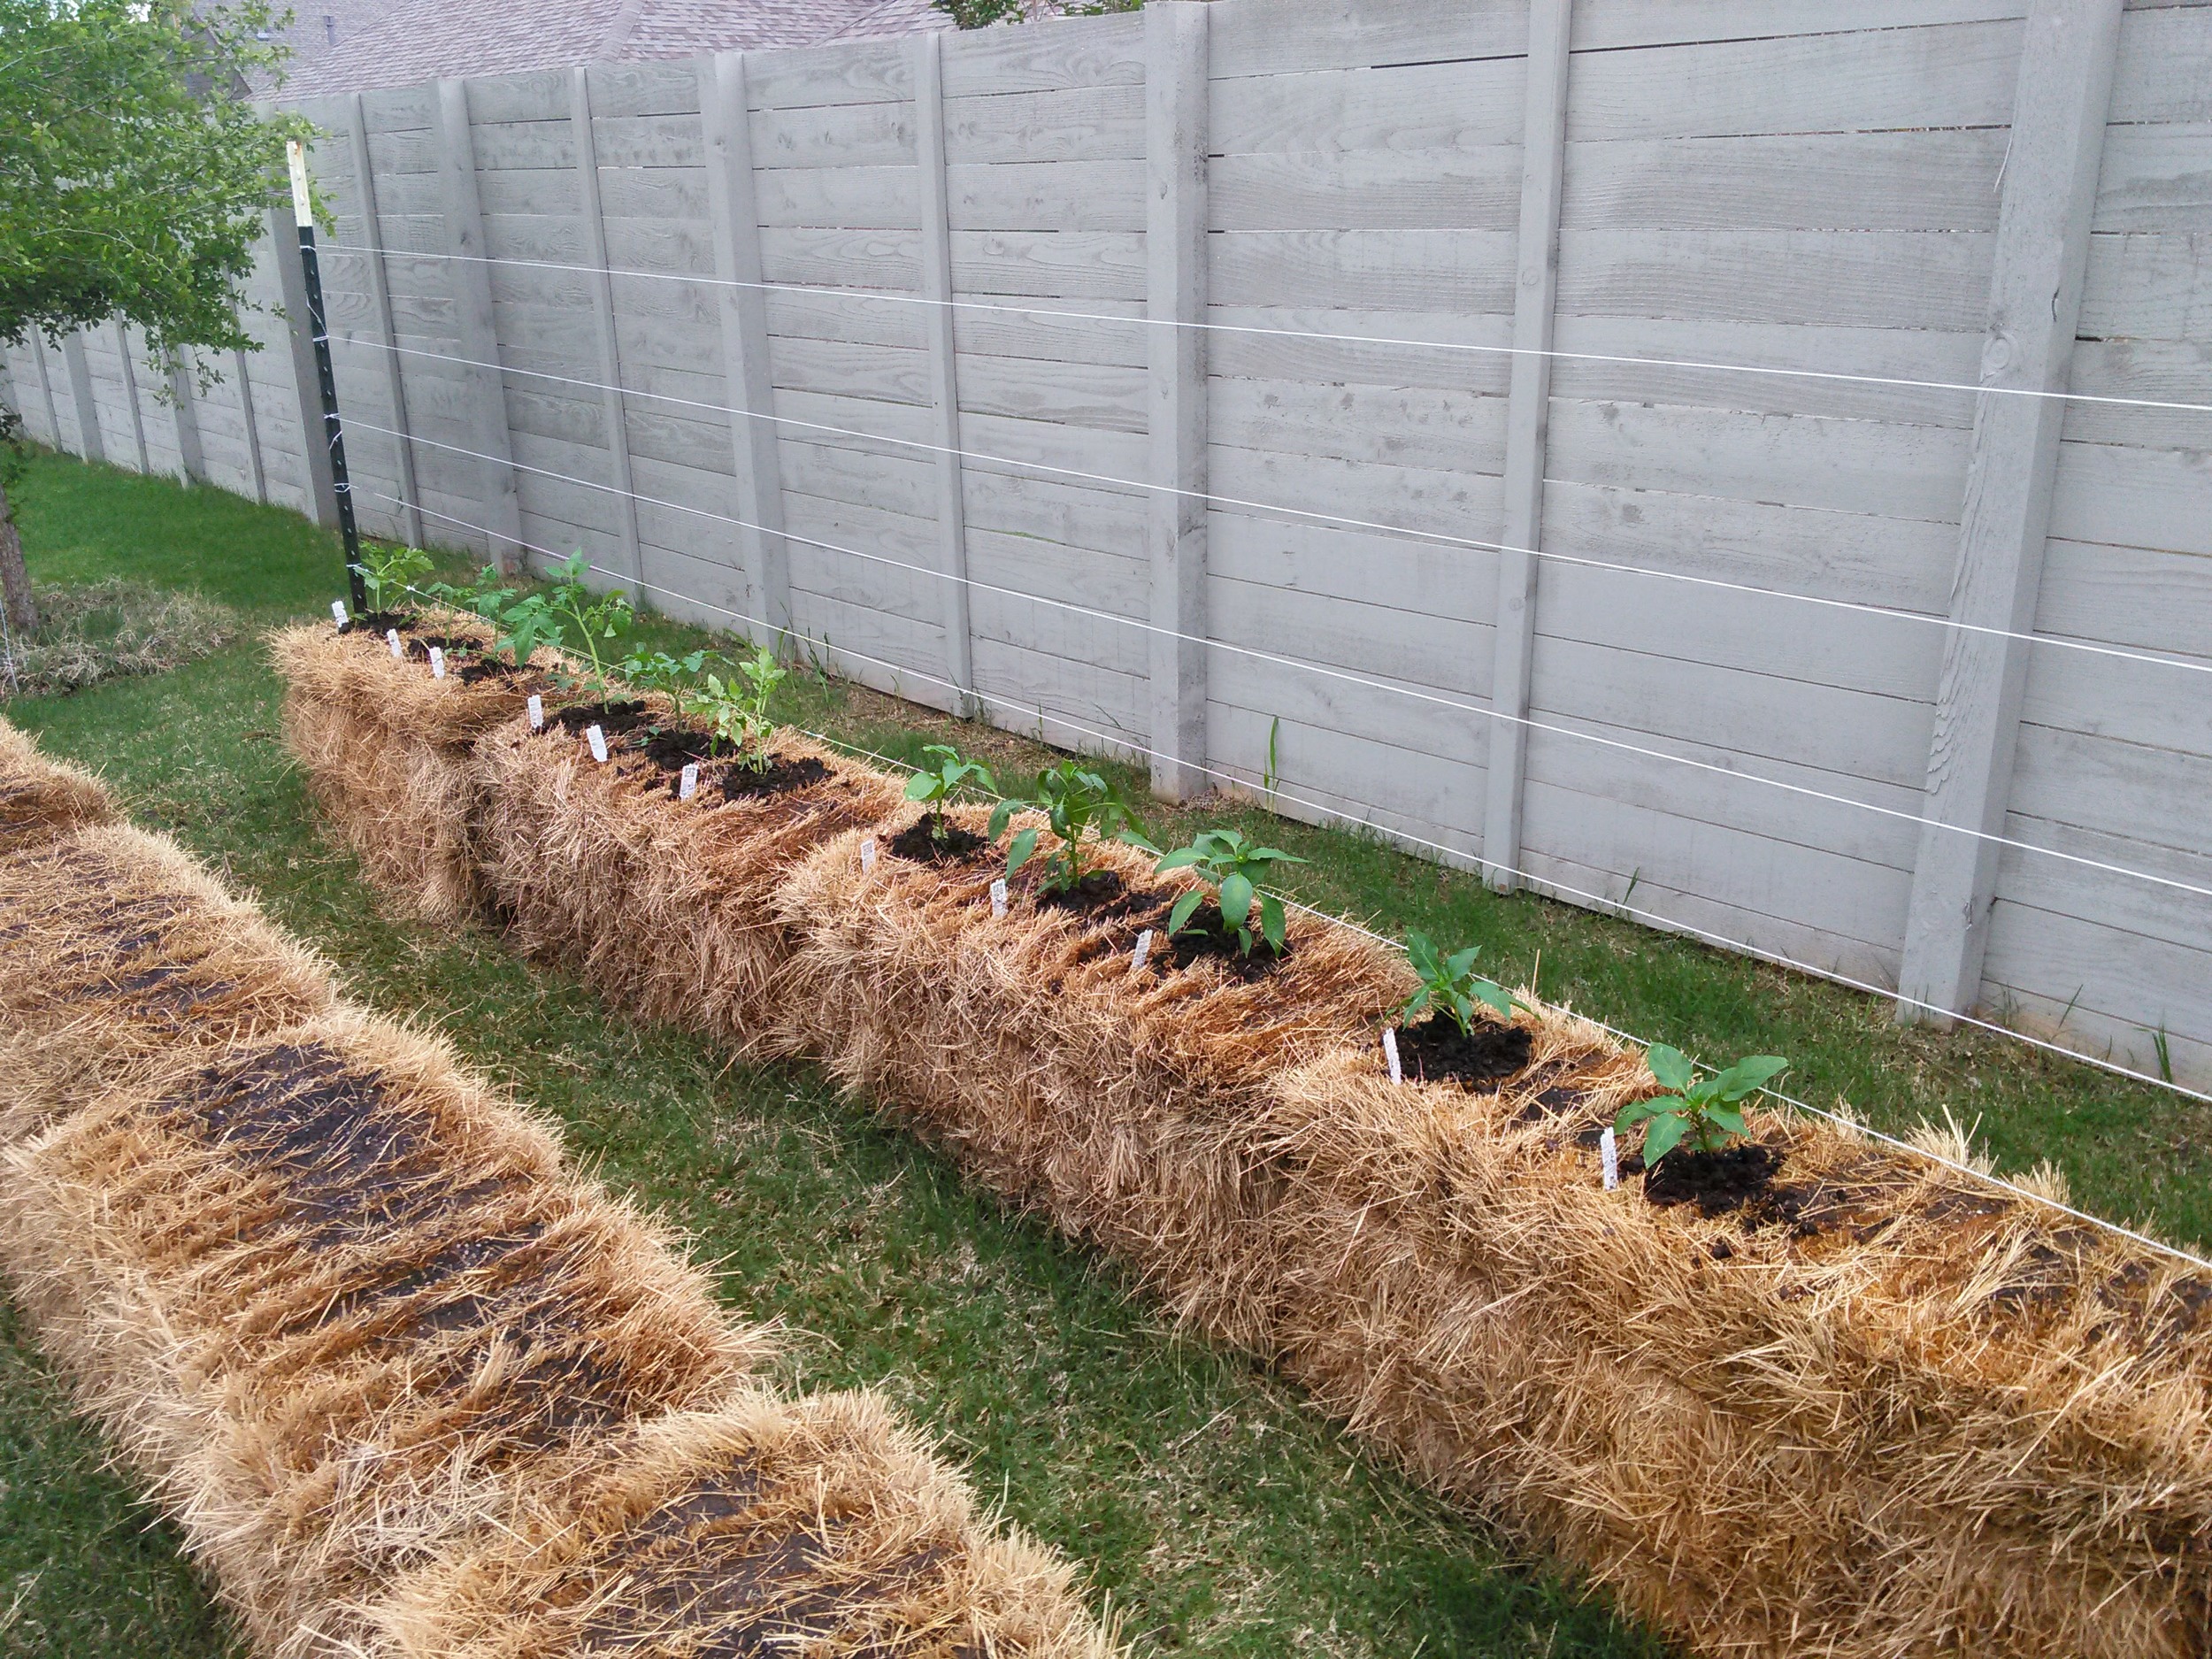
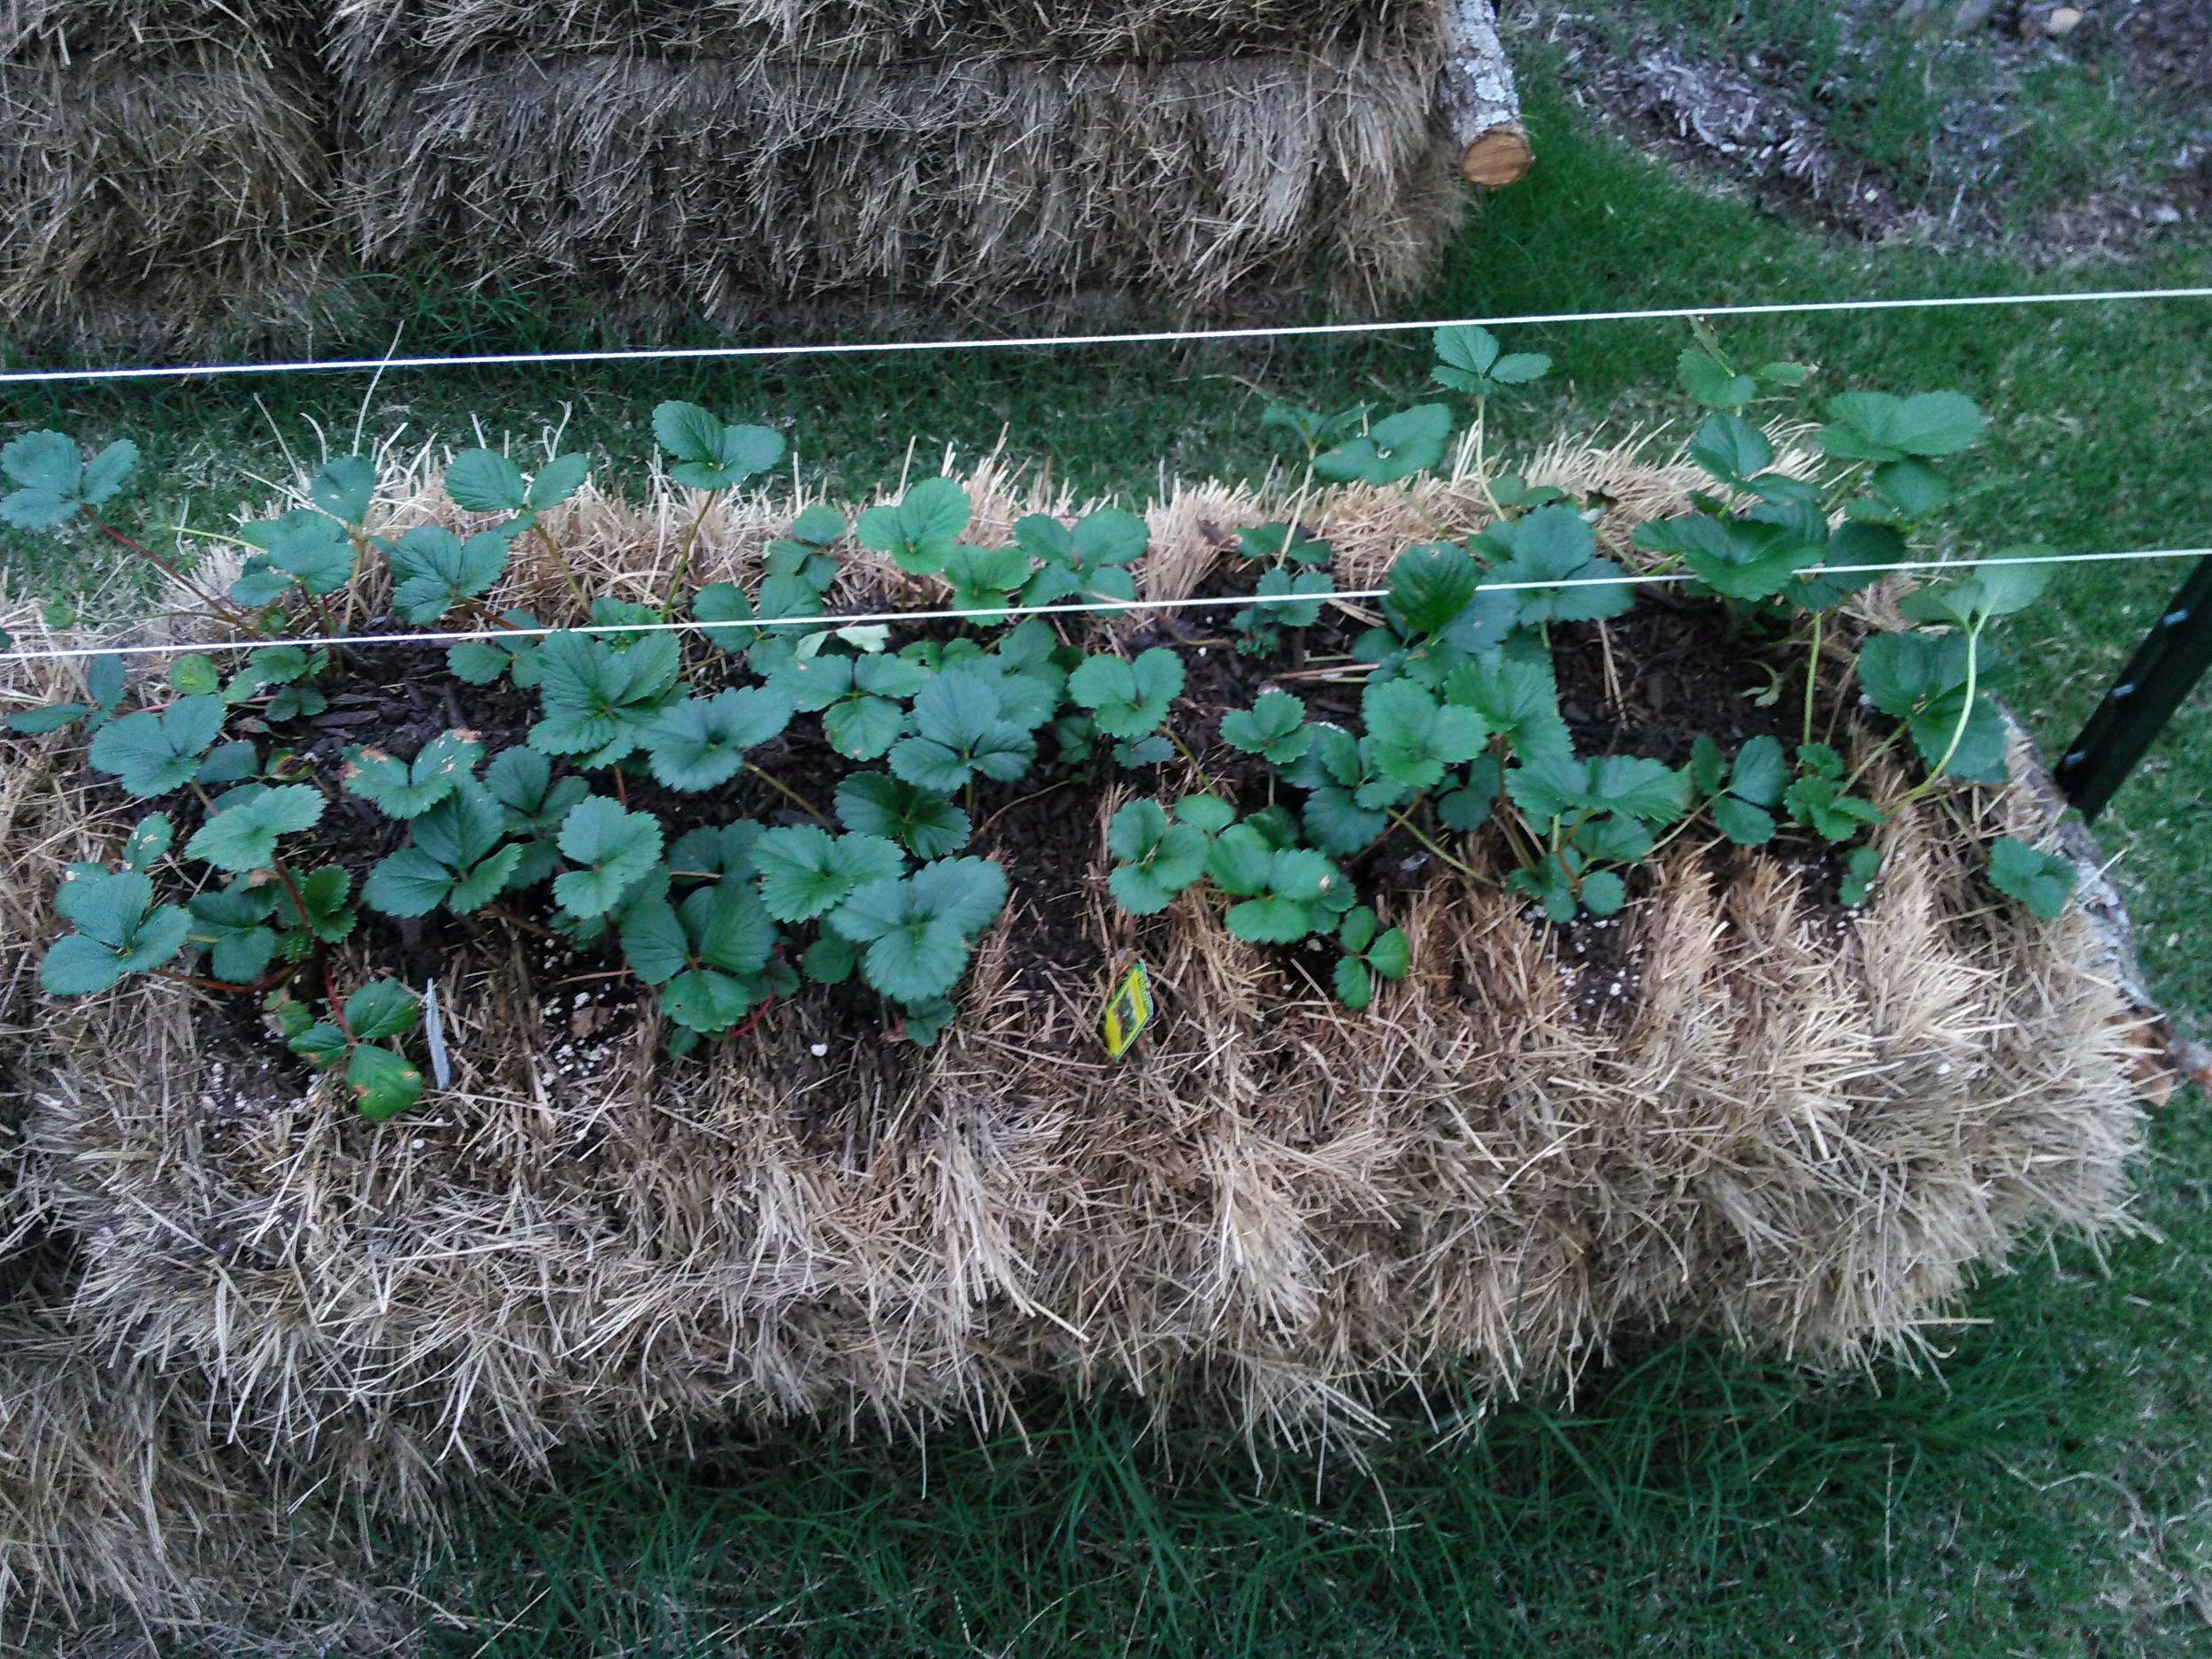
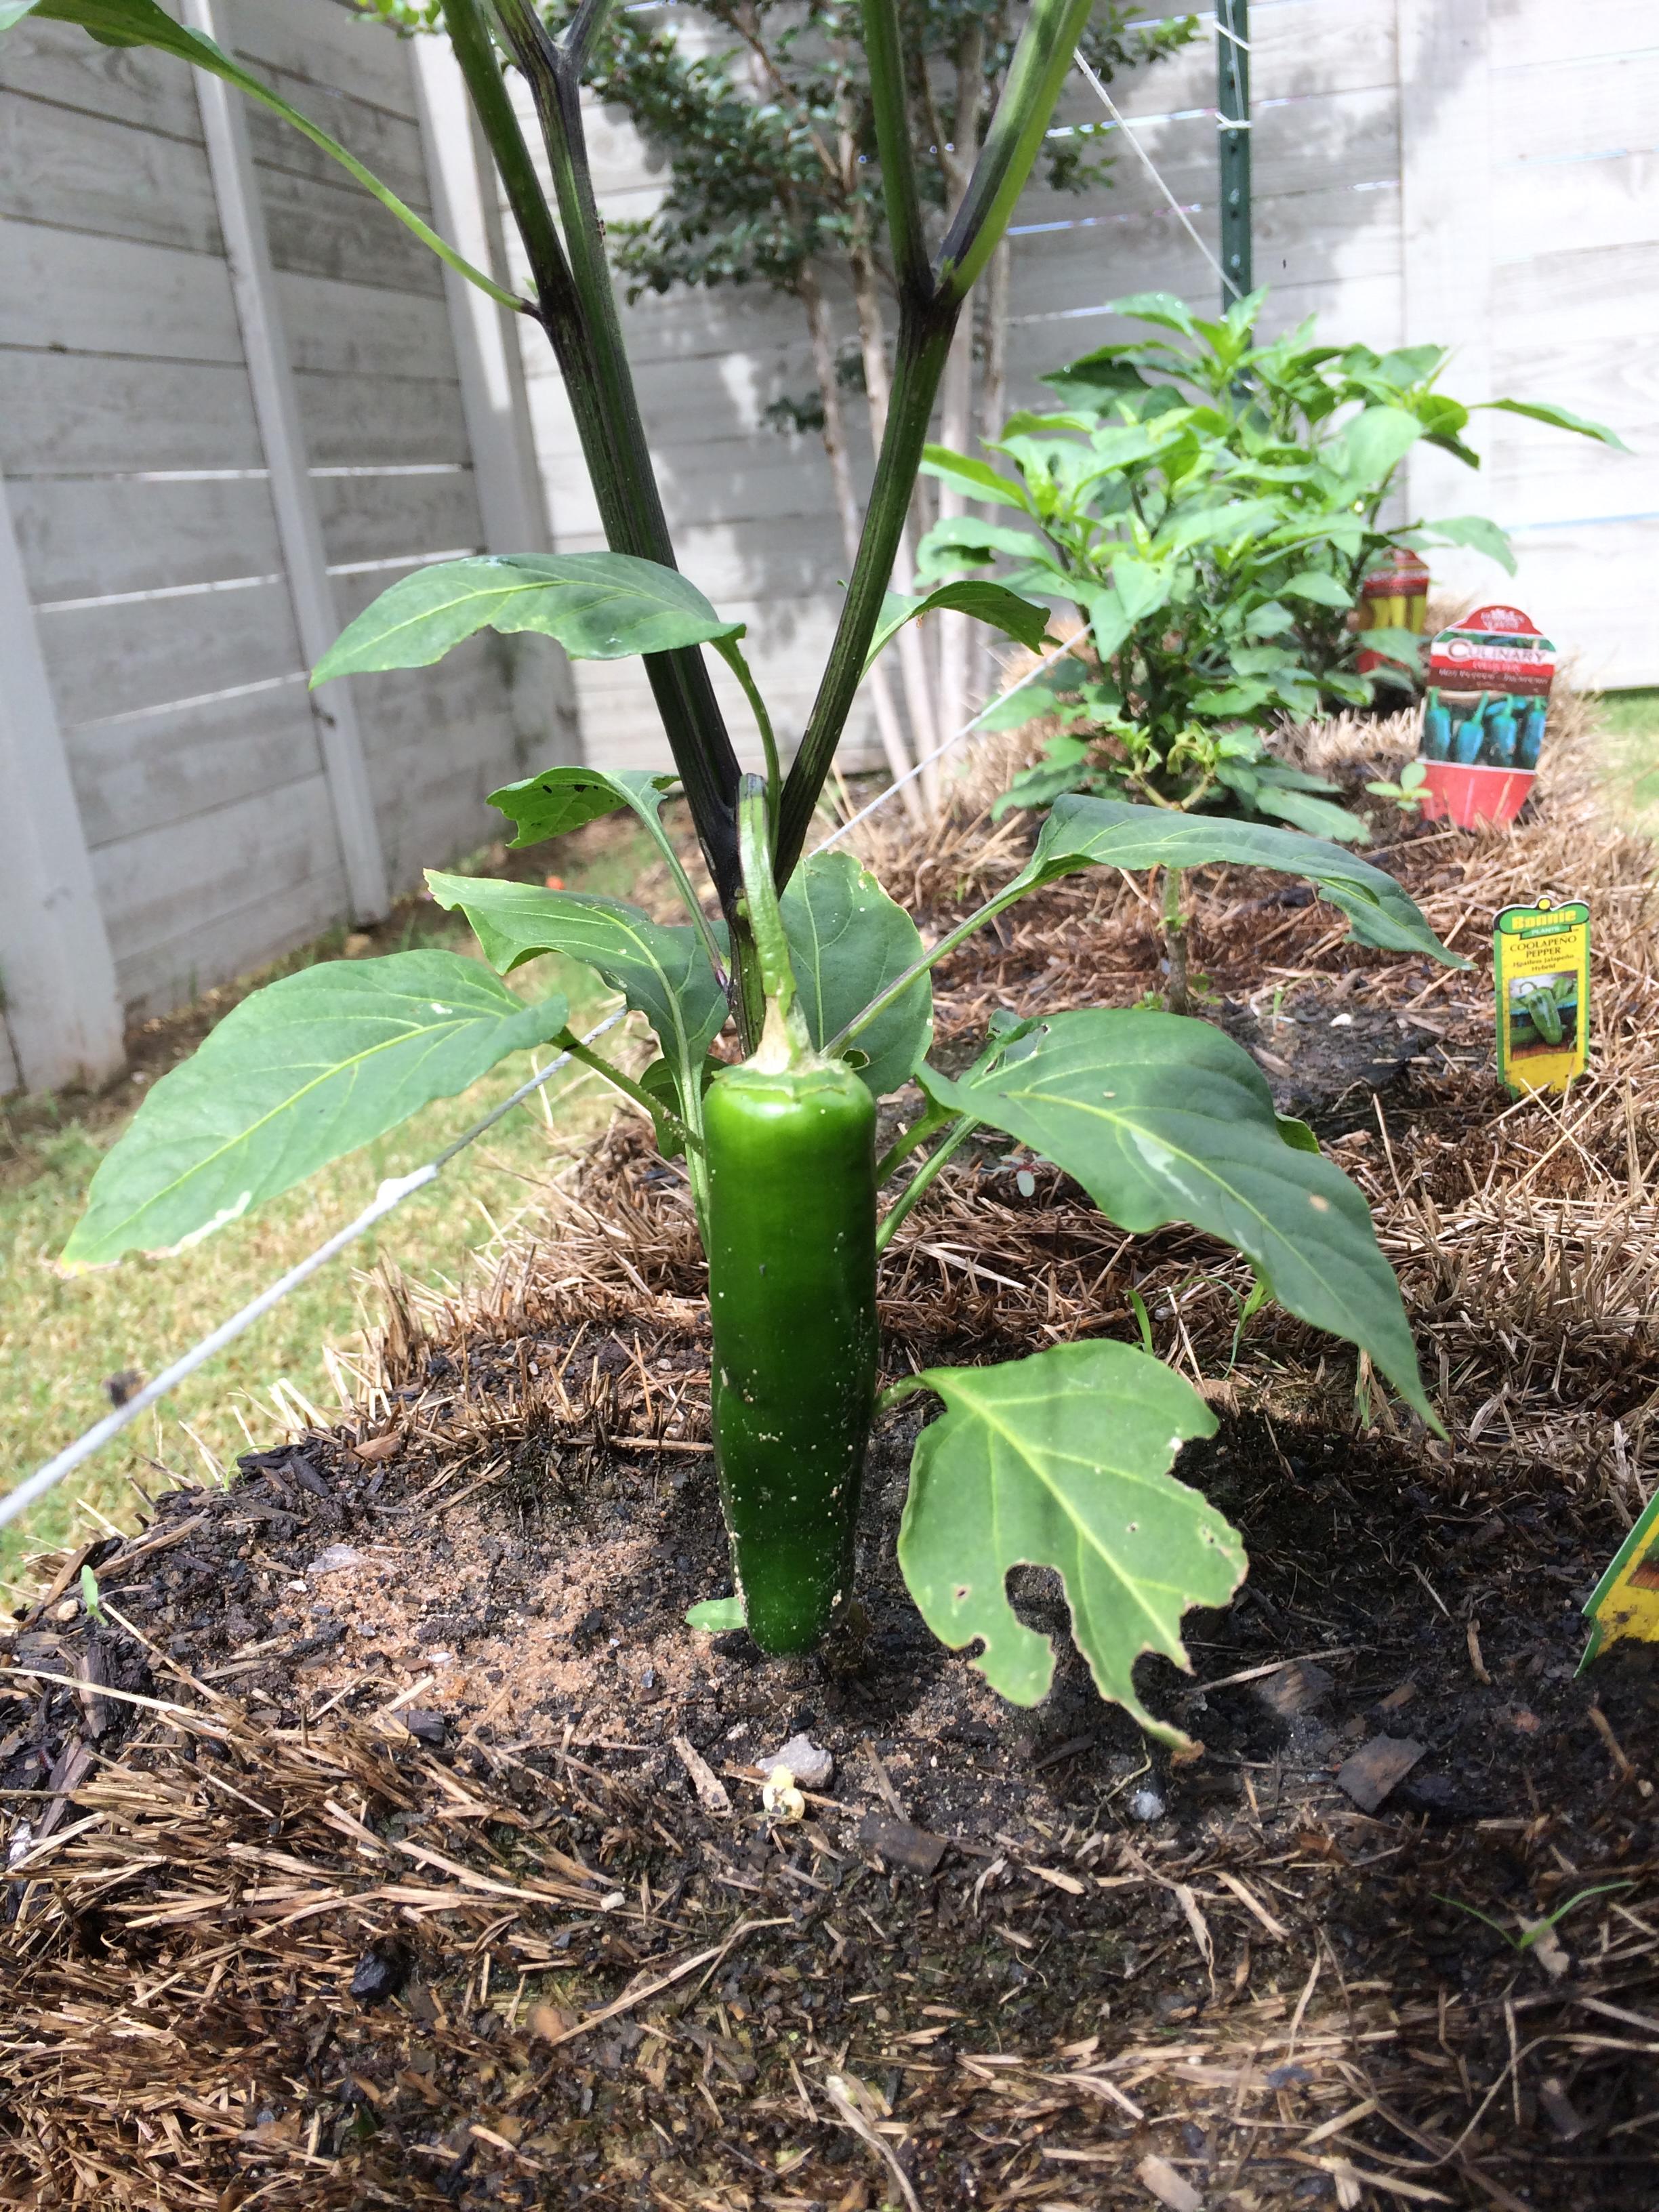
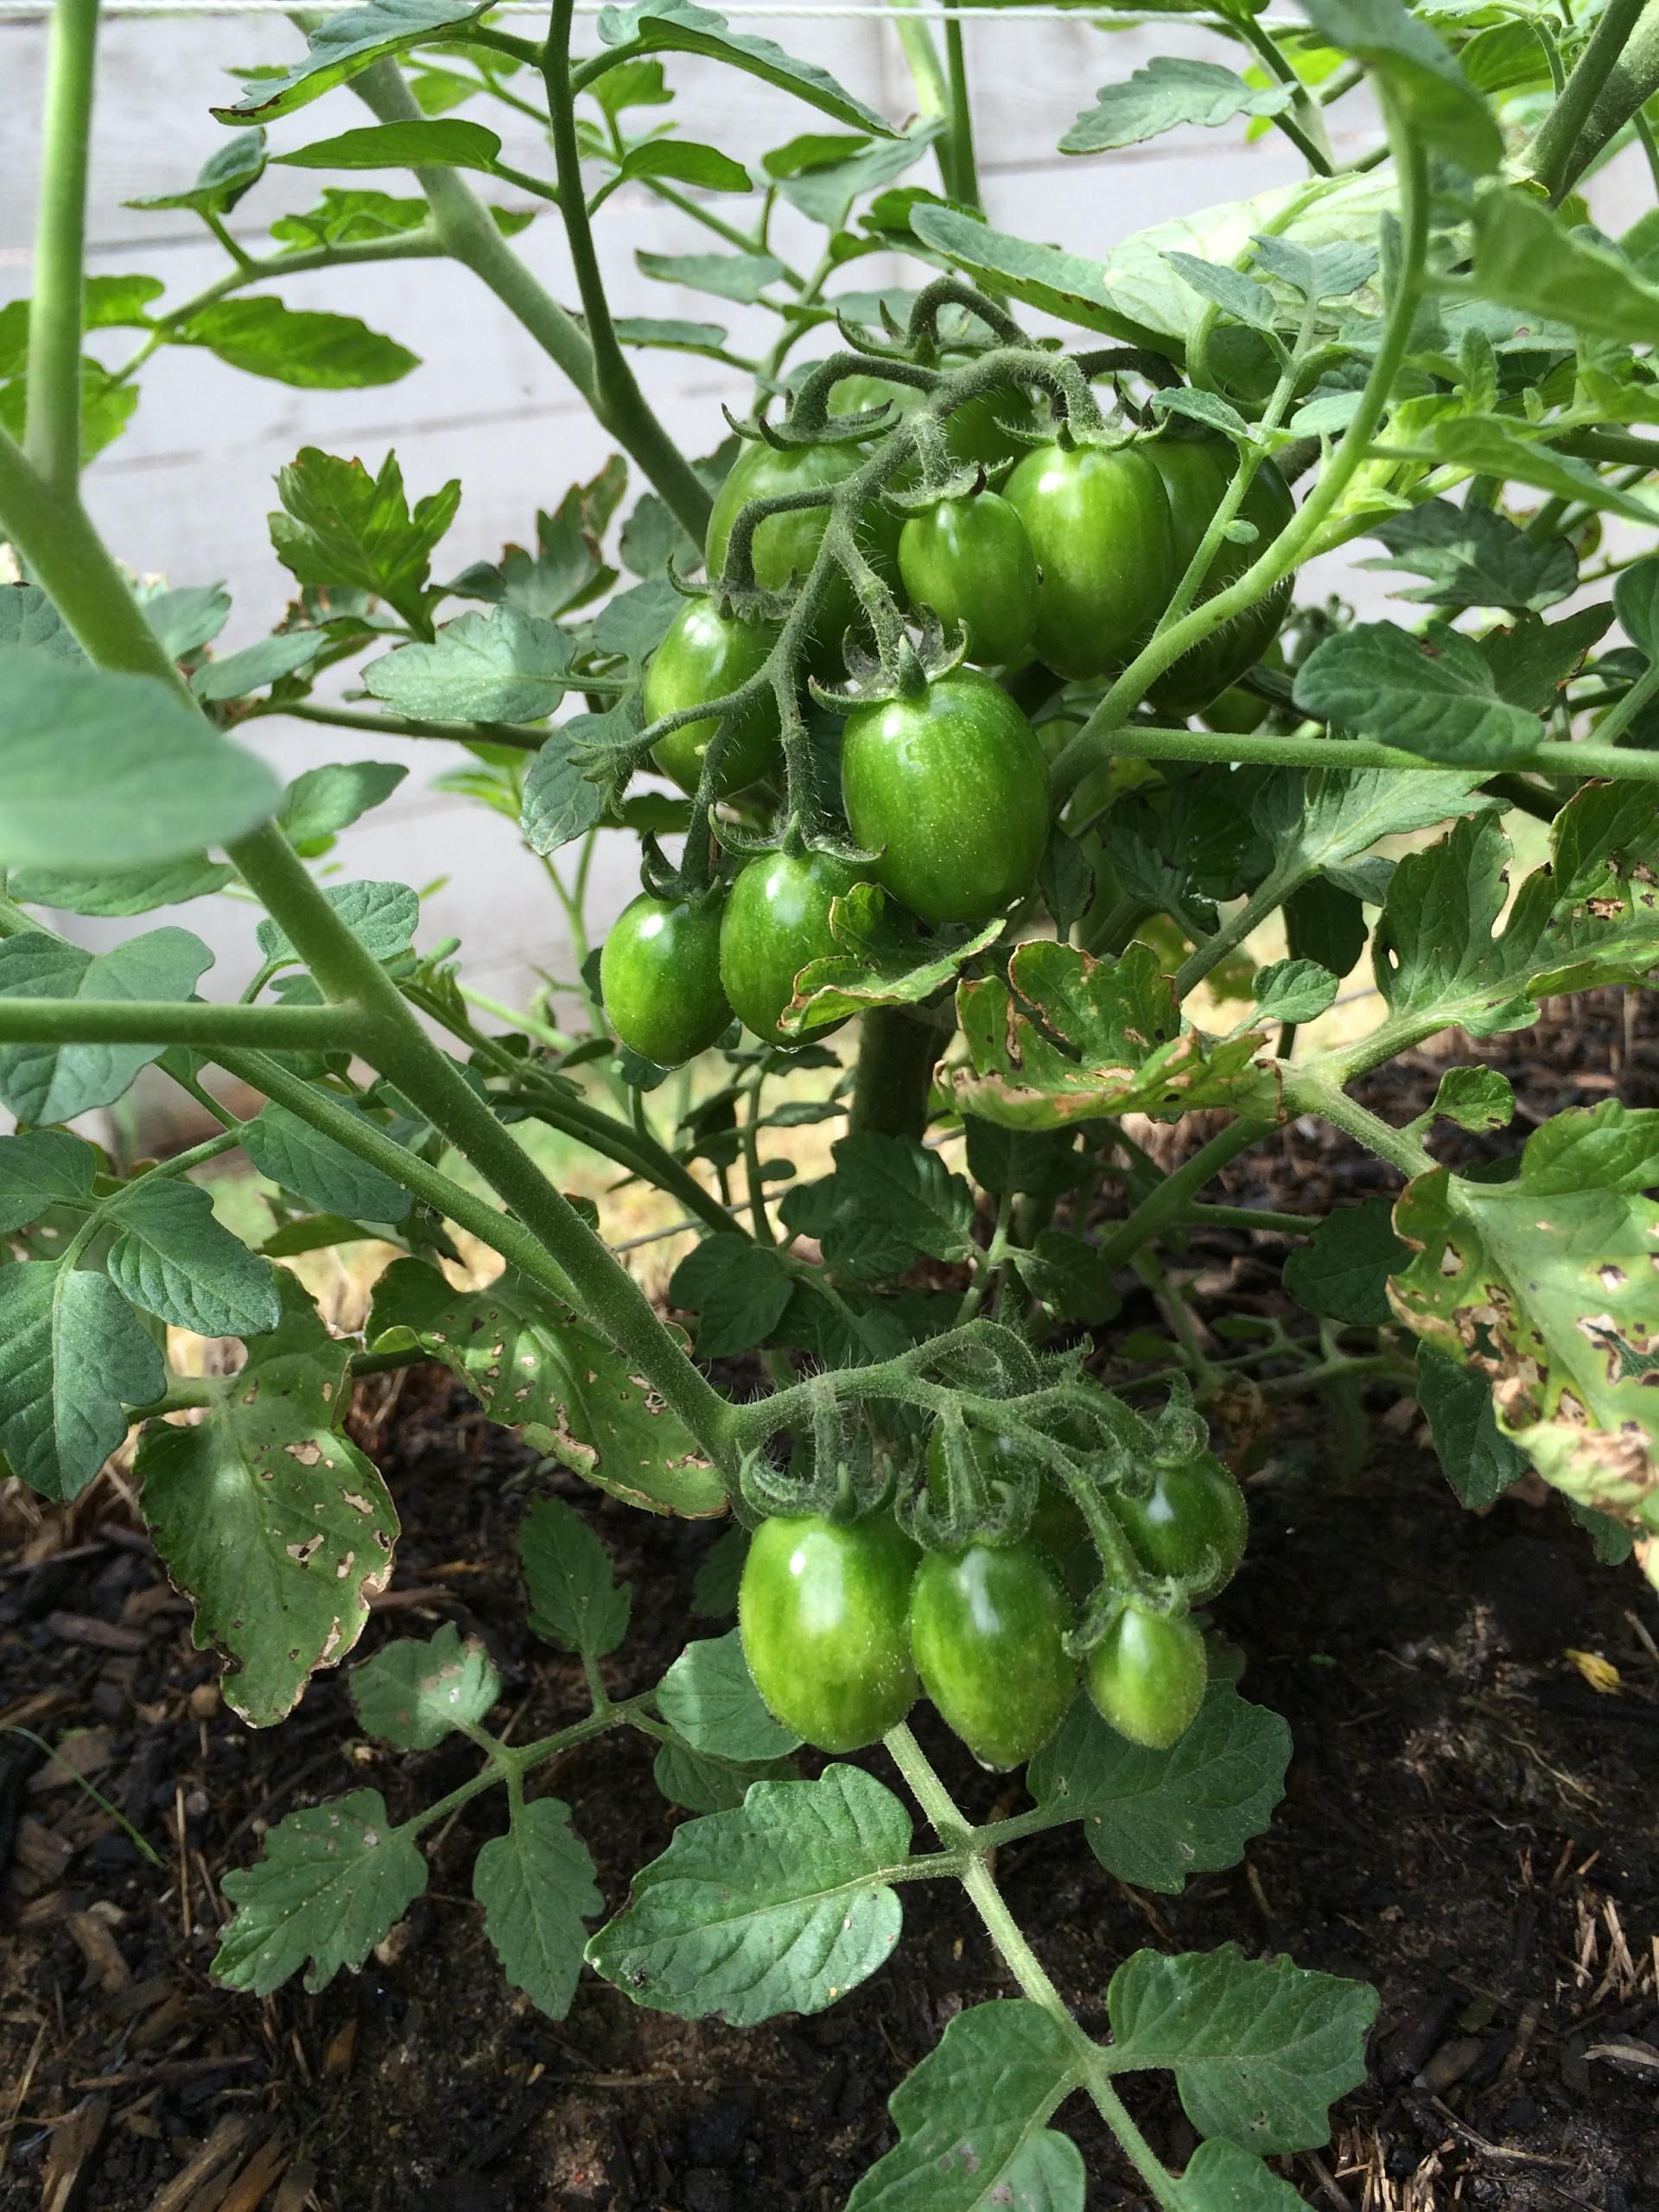
Now, it’s time for planting! You can plant from seed or saplings. If you are planting from seeds, you would lay down about two inches of dirt across the top of the bale and plant the seeds (and water of course). If you are planting existing plants, you make a slit in the top of the bale and take the dirt/plant from the container and plant down in to the slit. From there it is just water and wait!
Something I learned is the amount of watering that is needed for a straw bale garden! Since the water drains out through the bottom, there is very little water retention. So you will need to water morning and evening. I would recommend getting a soaker hose and place on a timer to run twice daily.
The whole idea behind straw bale gardening is that the bales start to heat up from the inside from the fertilizer that was watered down into them during the preparation phase. As the heat increases within the bales, they start to decompose form the inside which is what provides the nutrients to the plants’ roots.
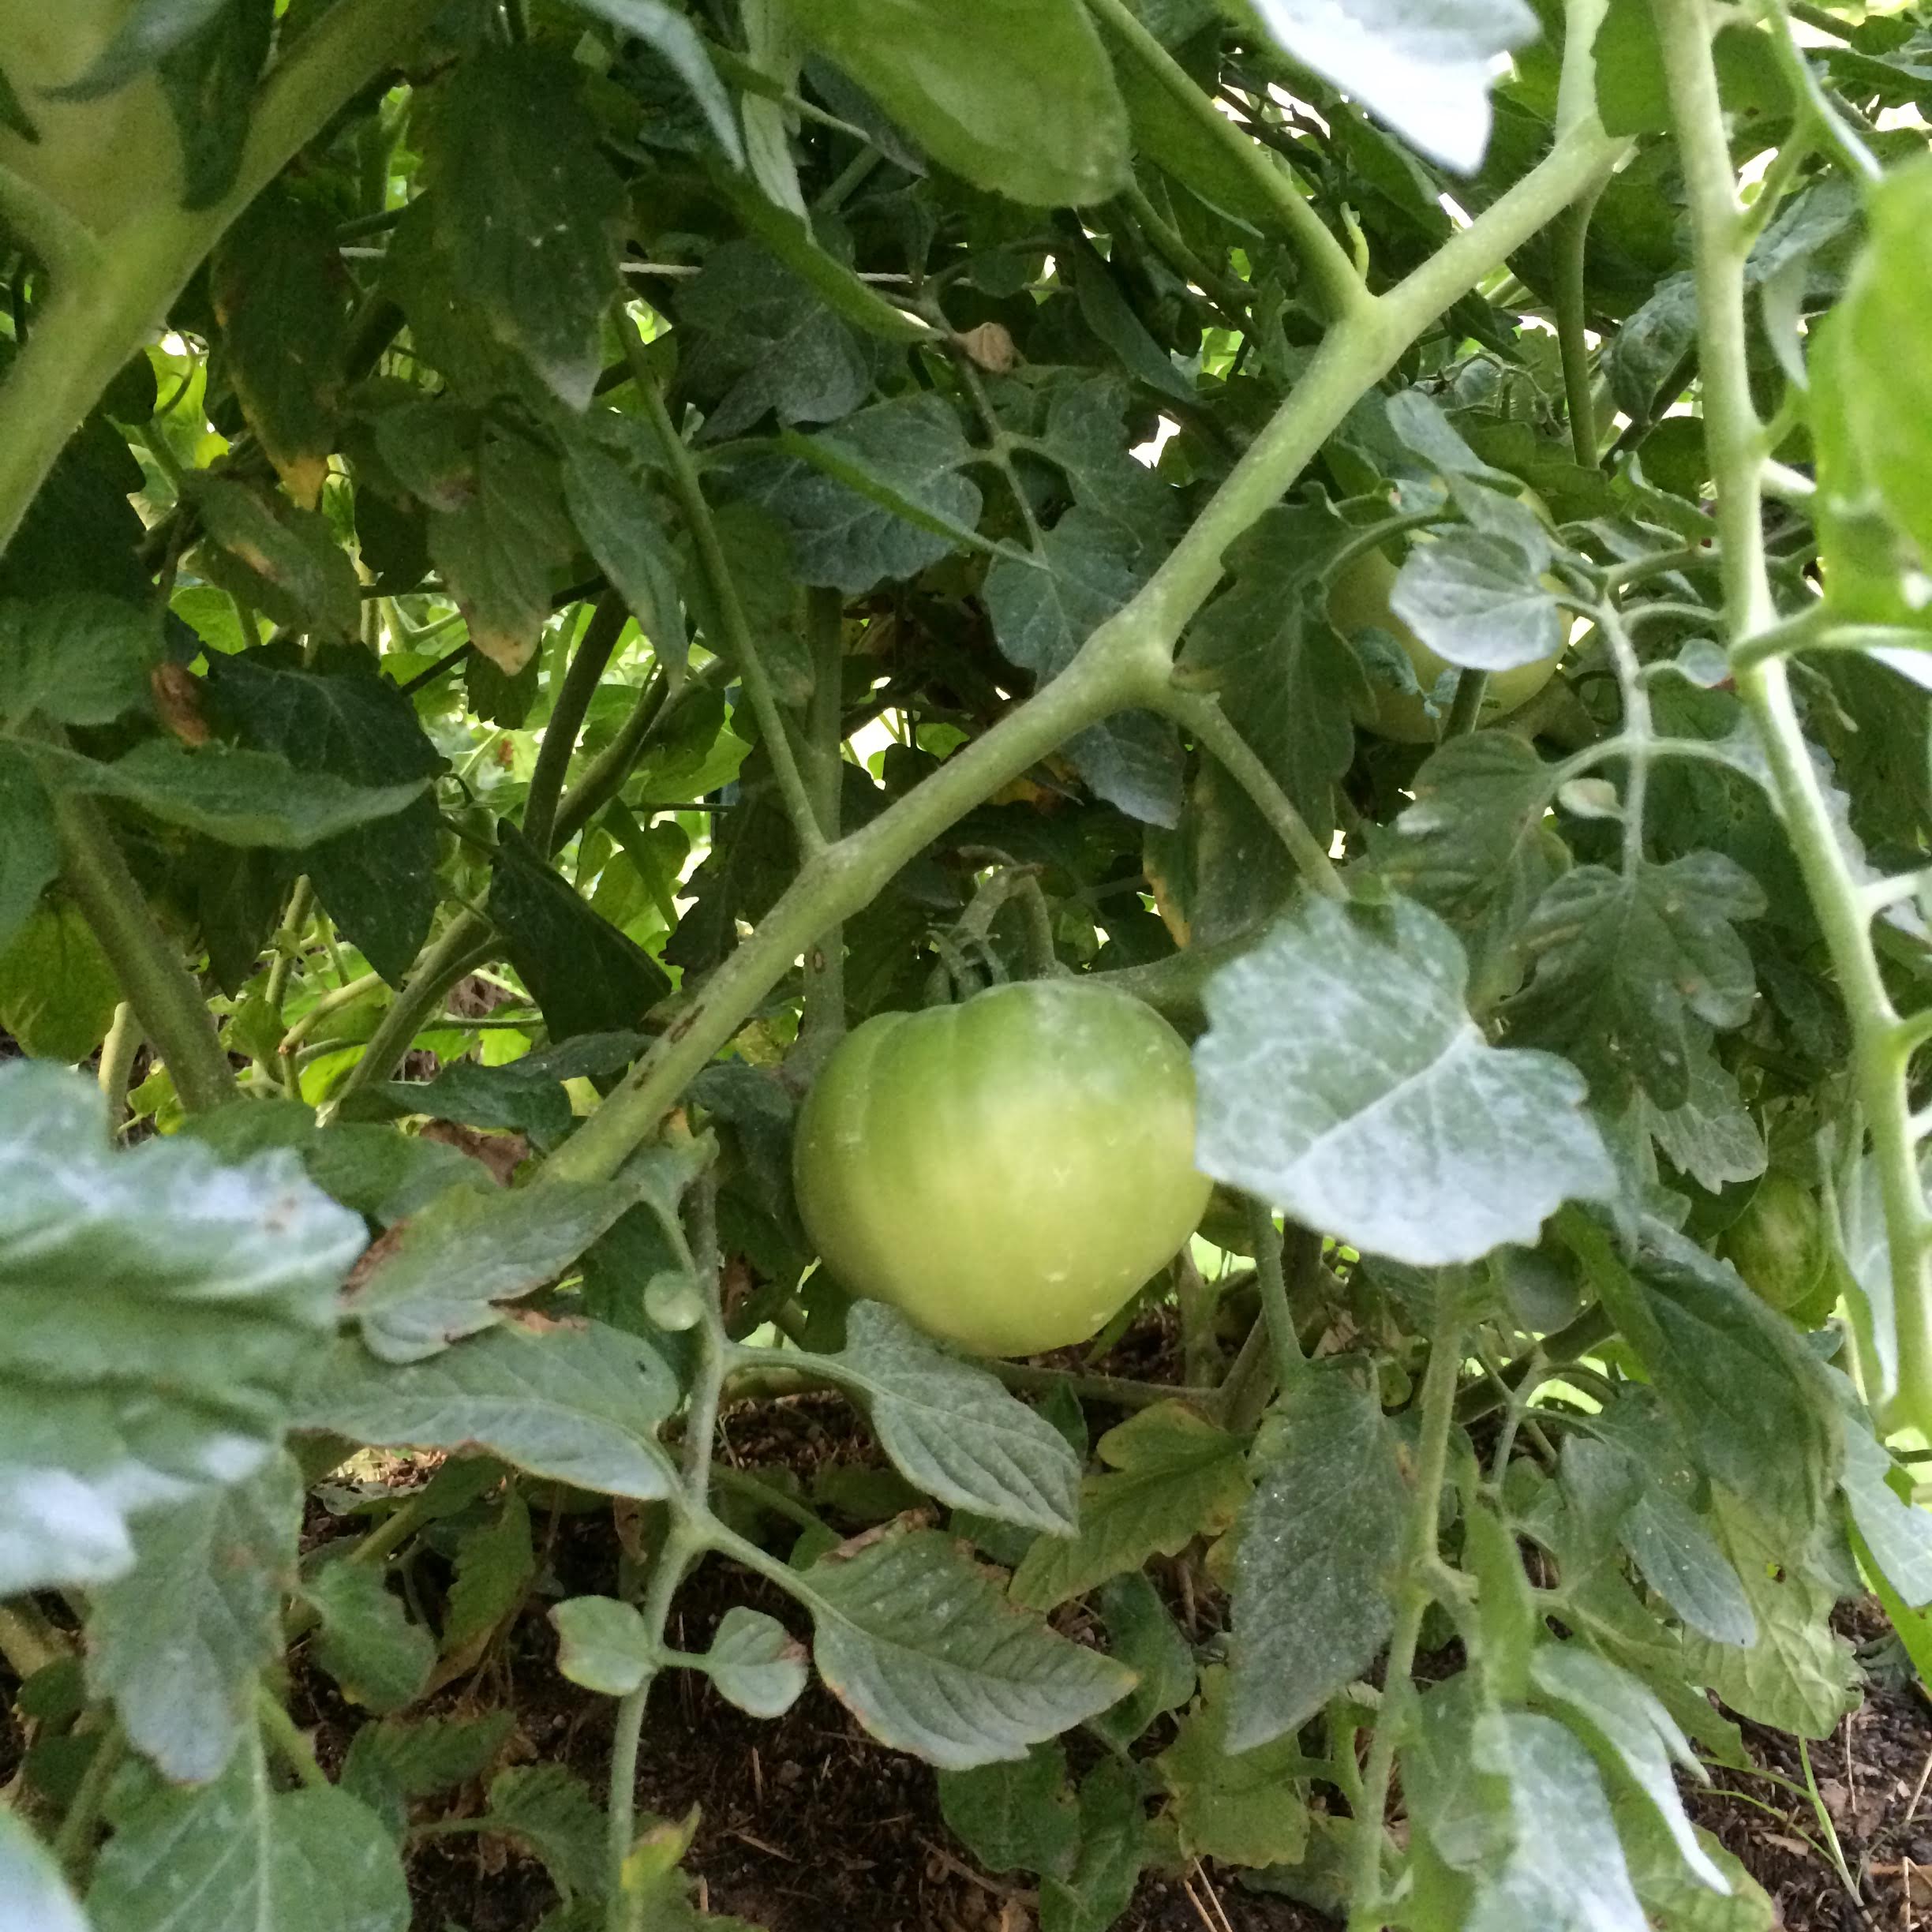
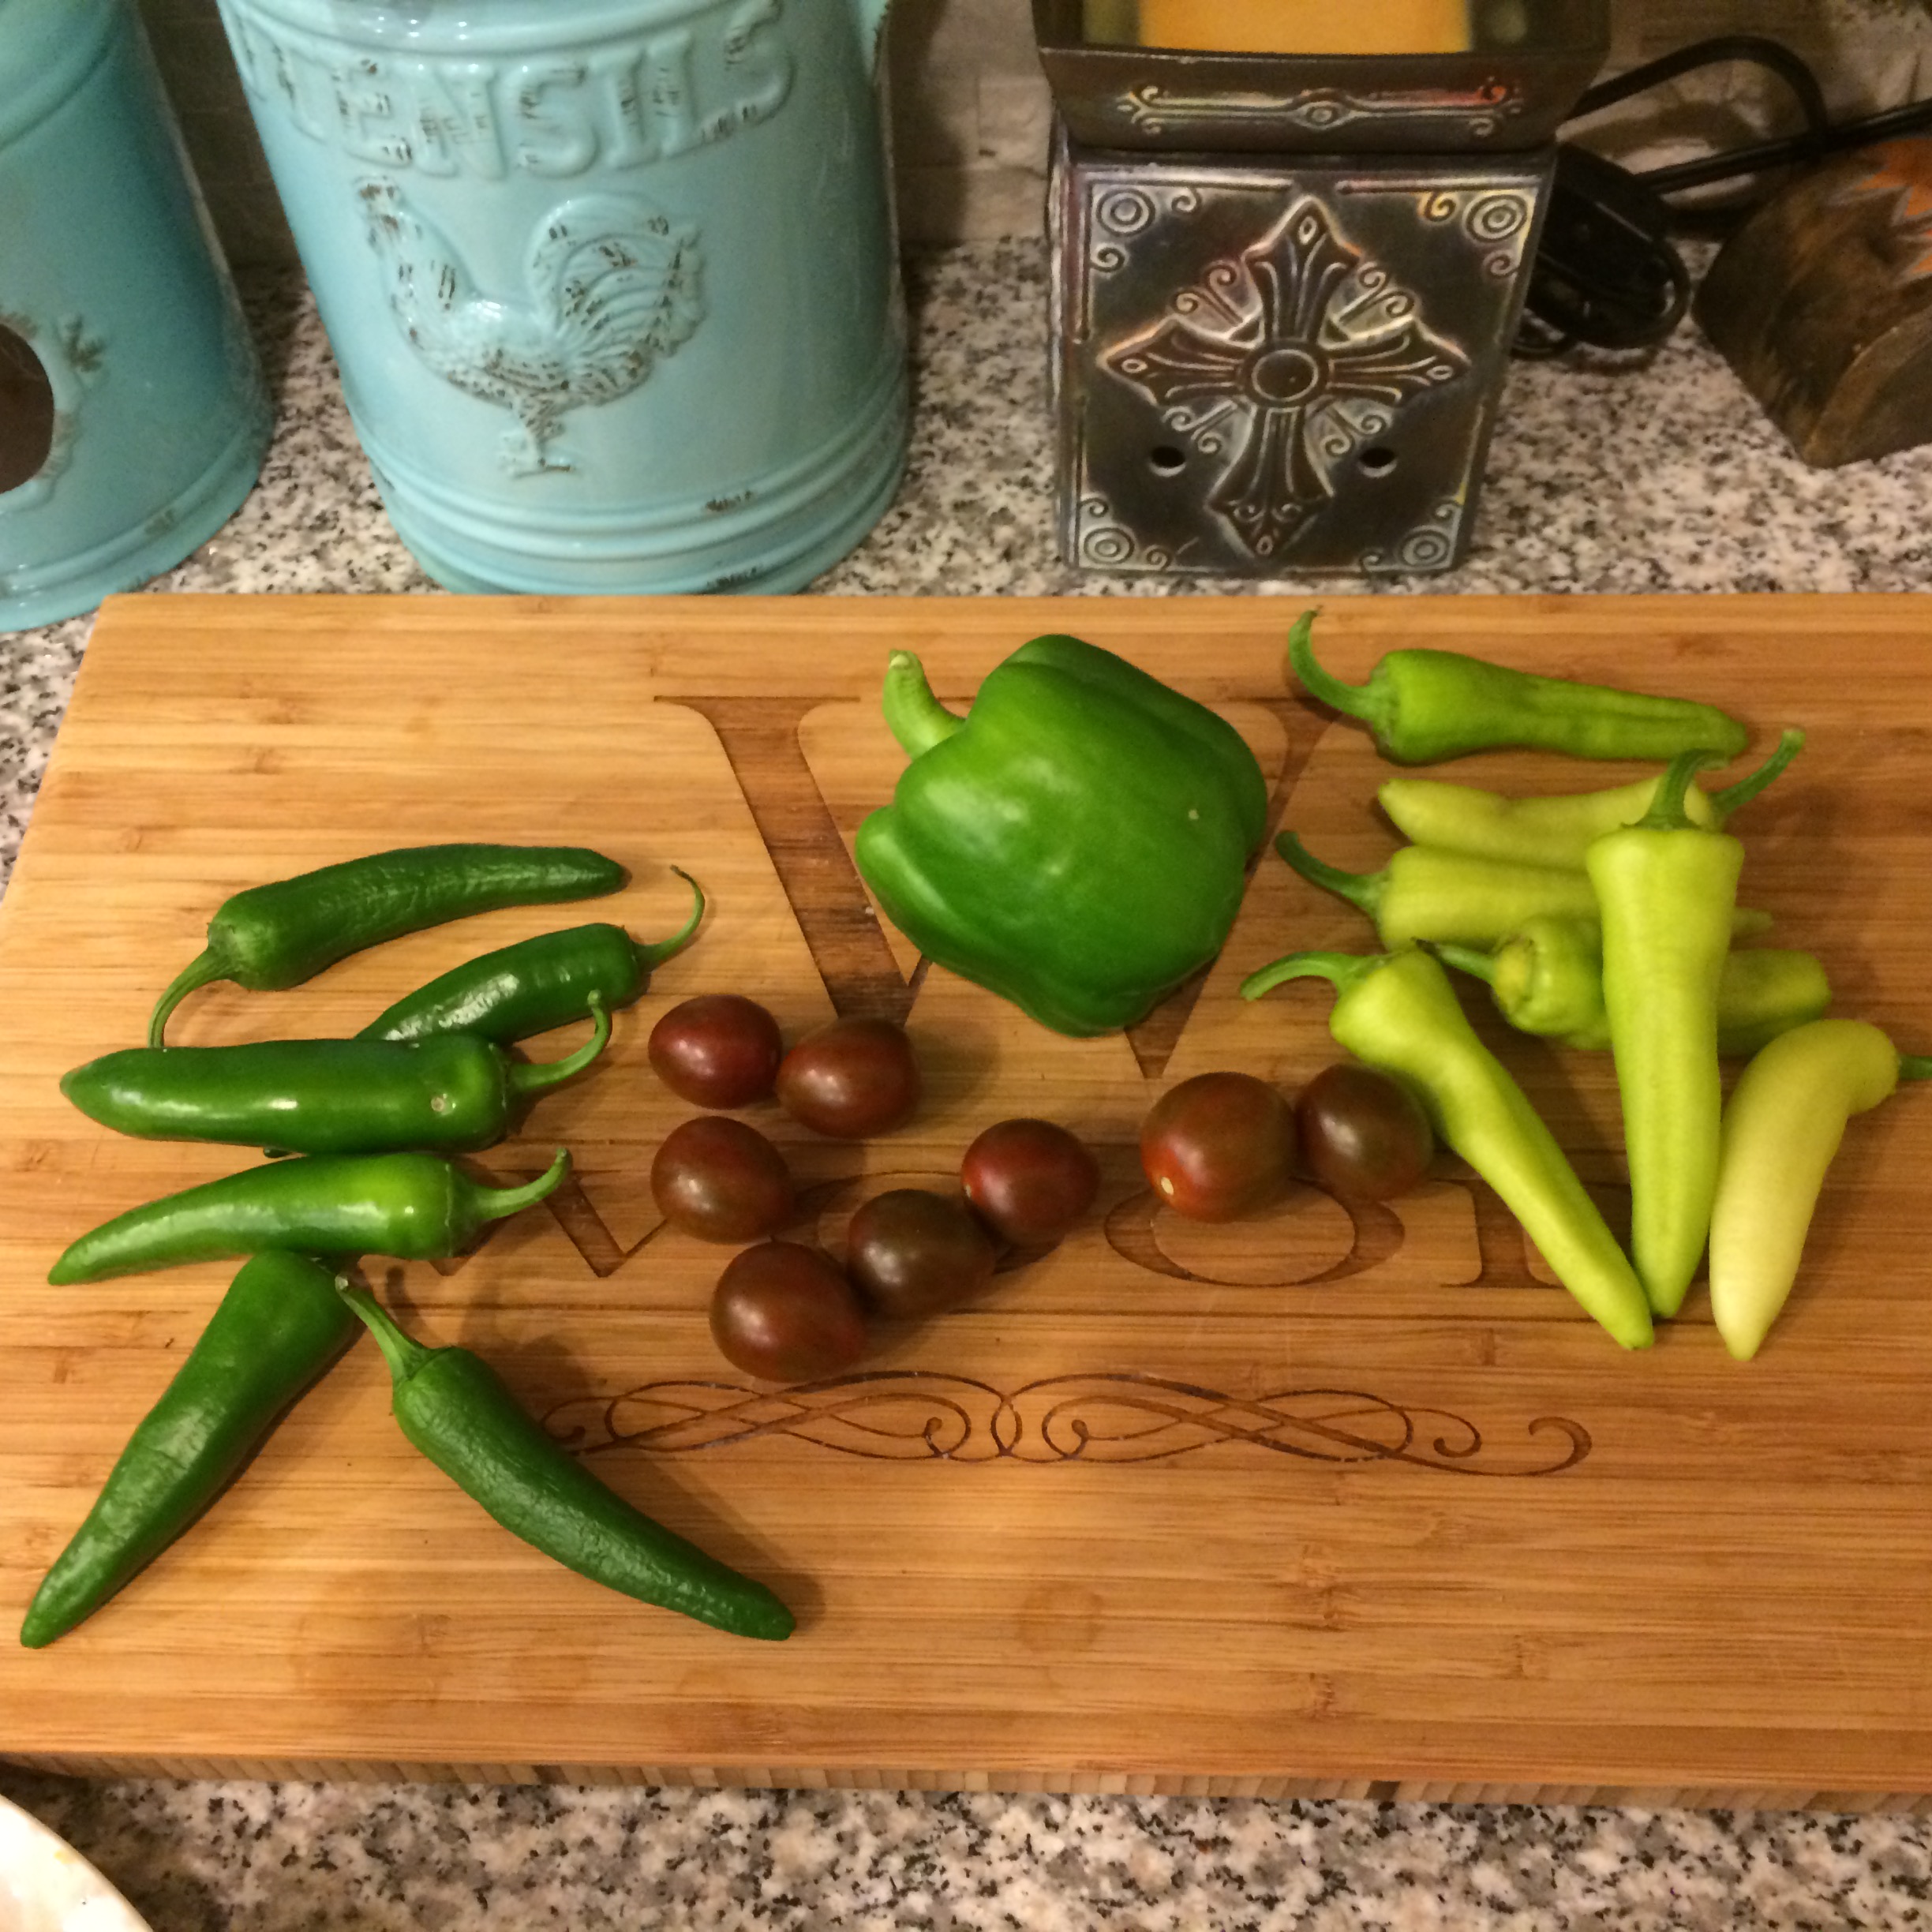
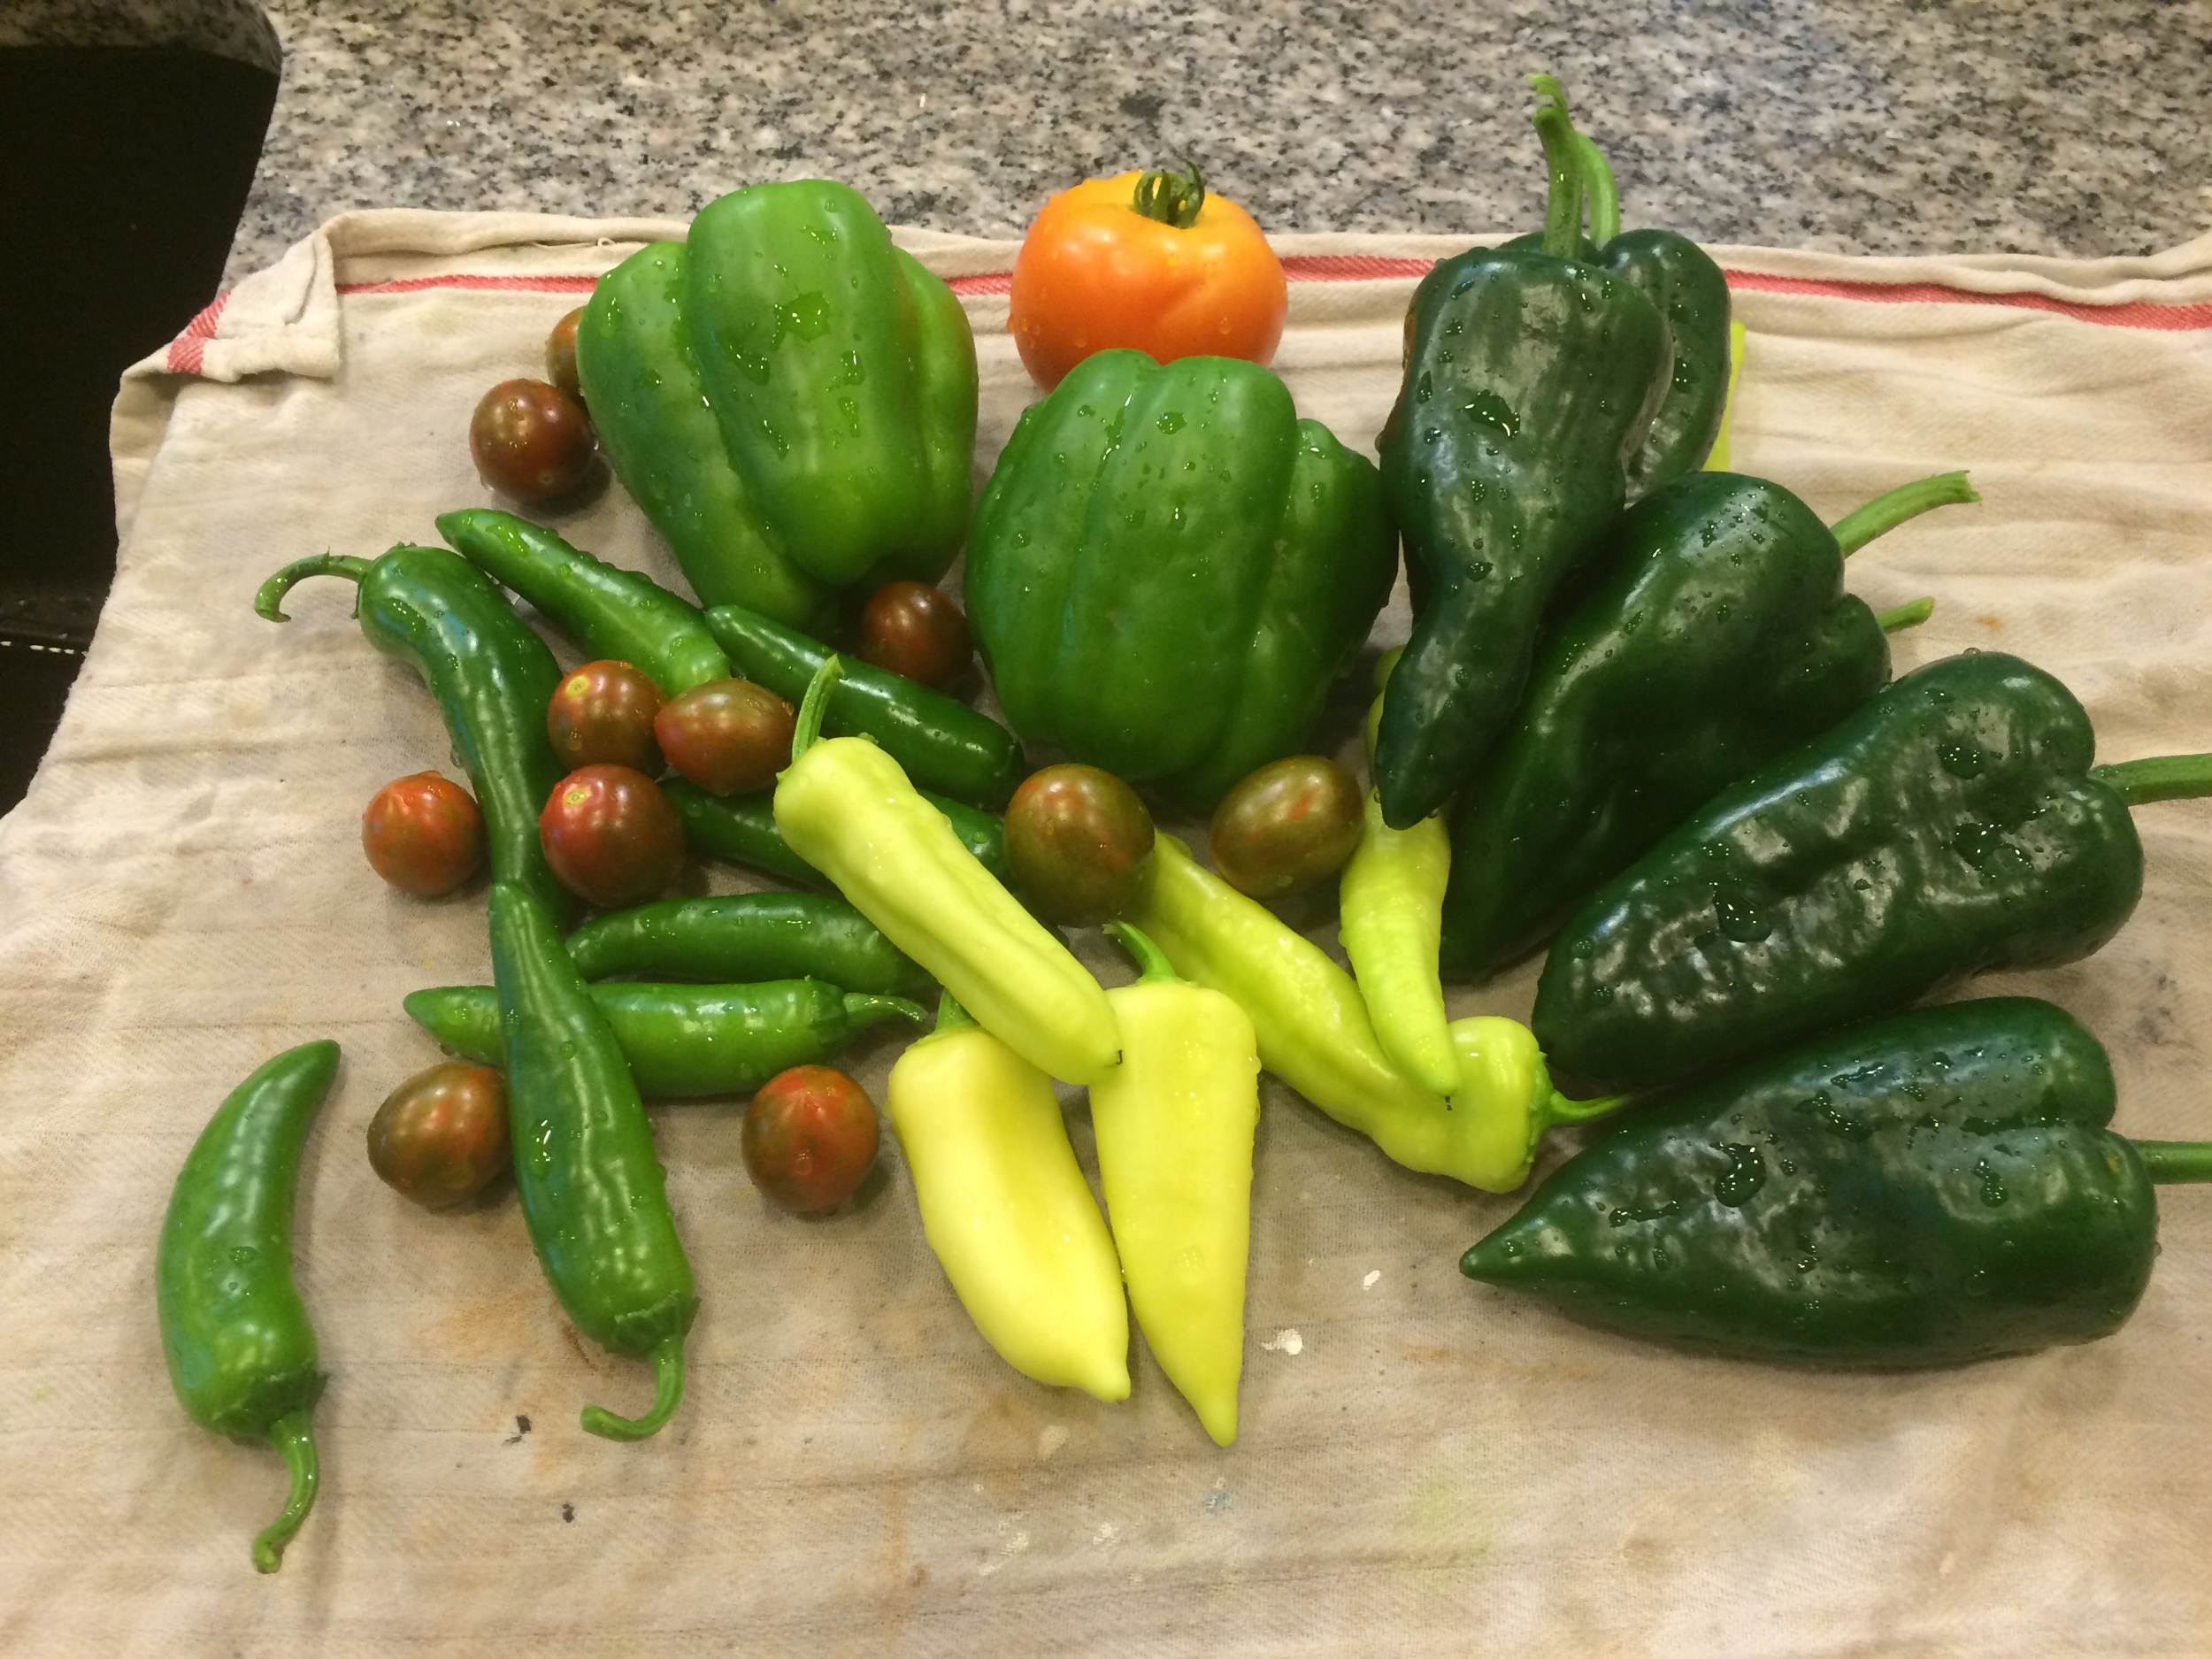
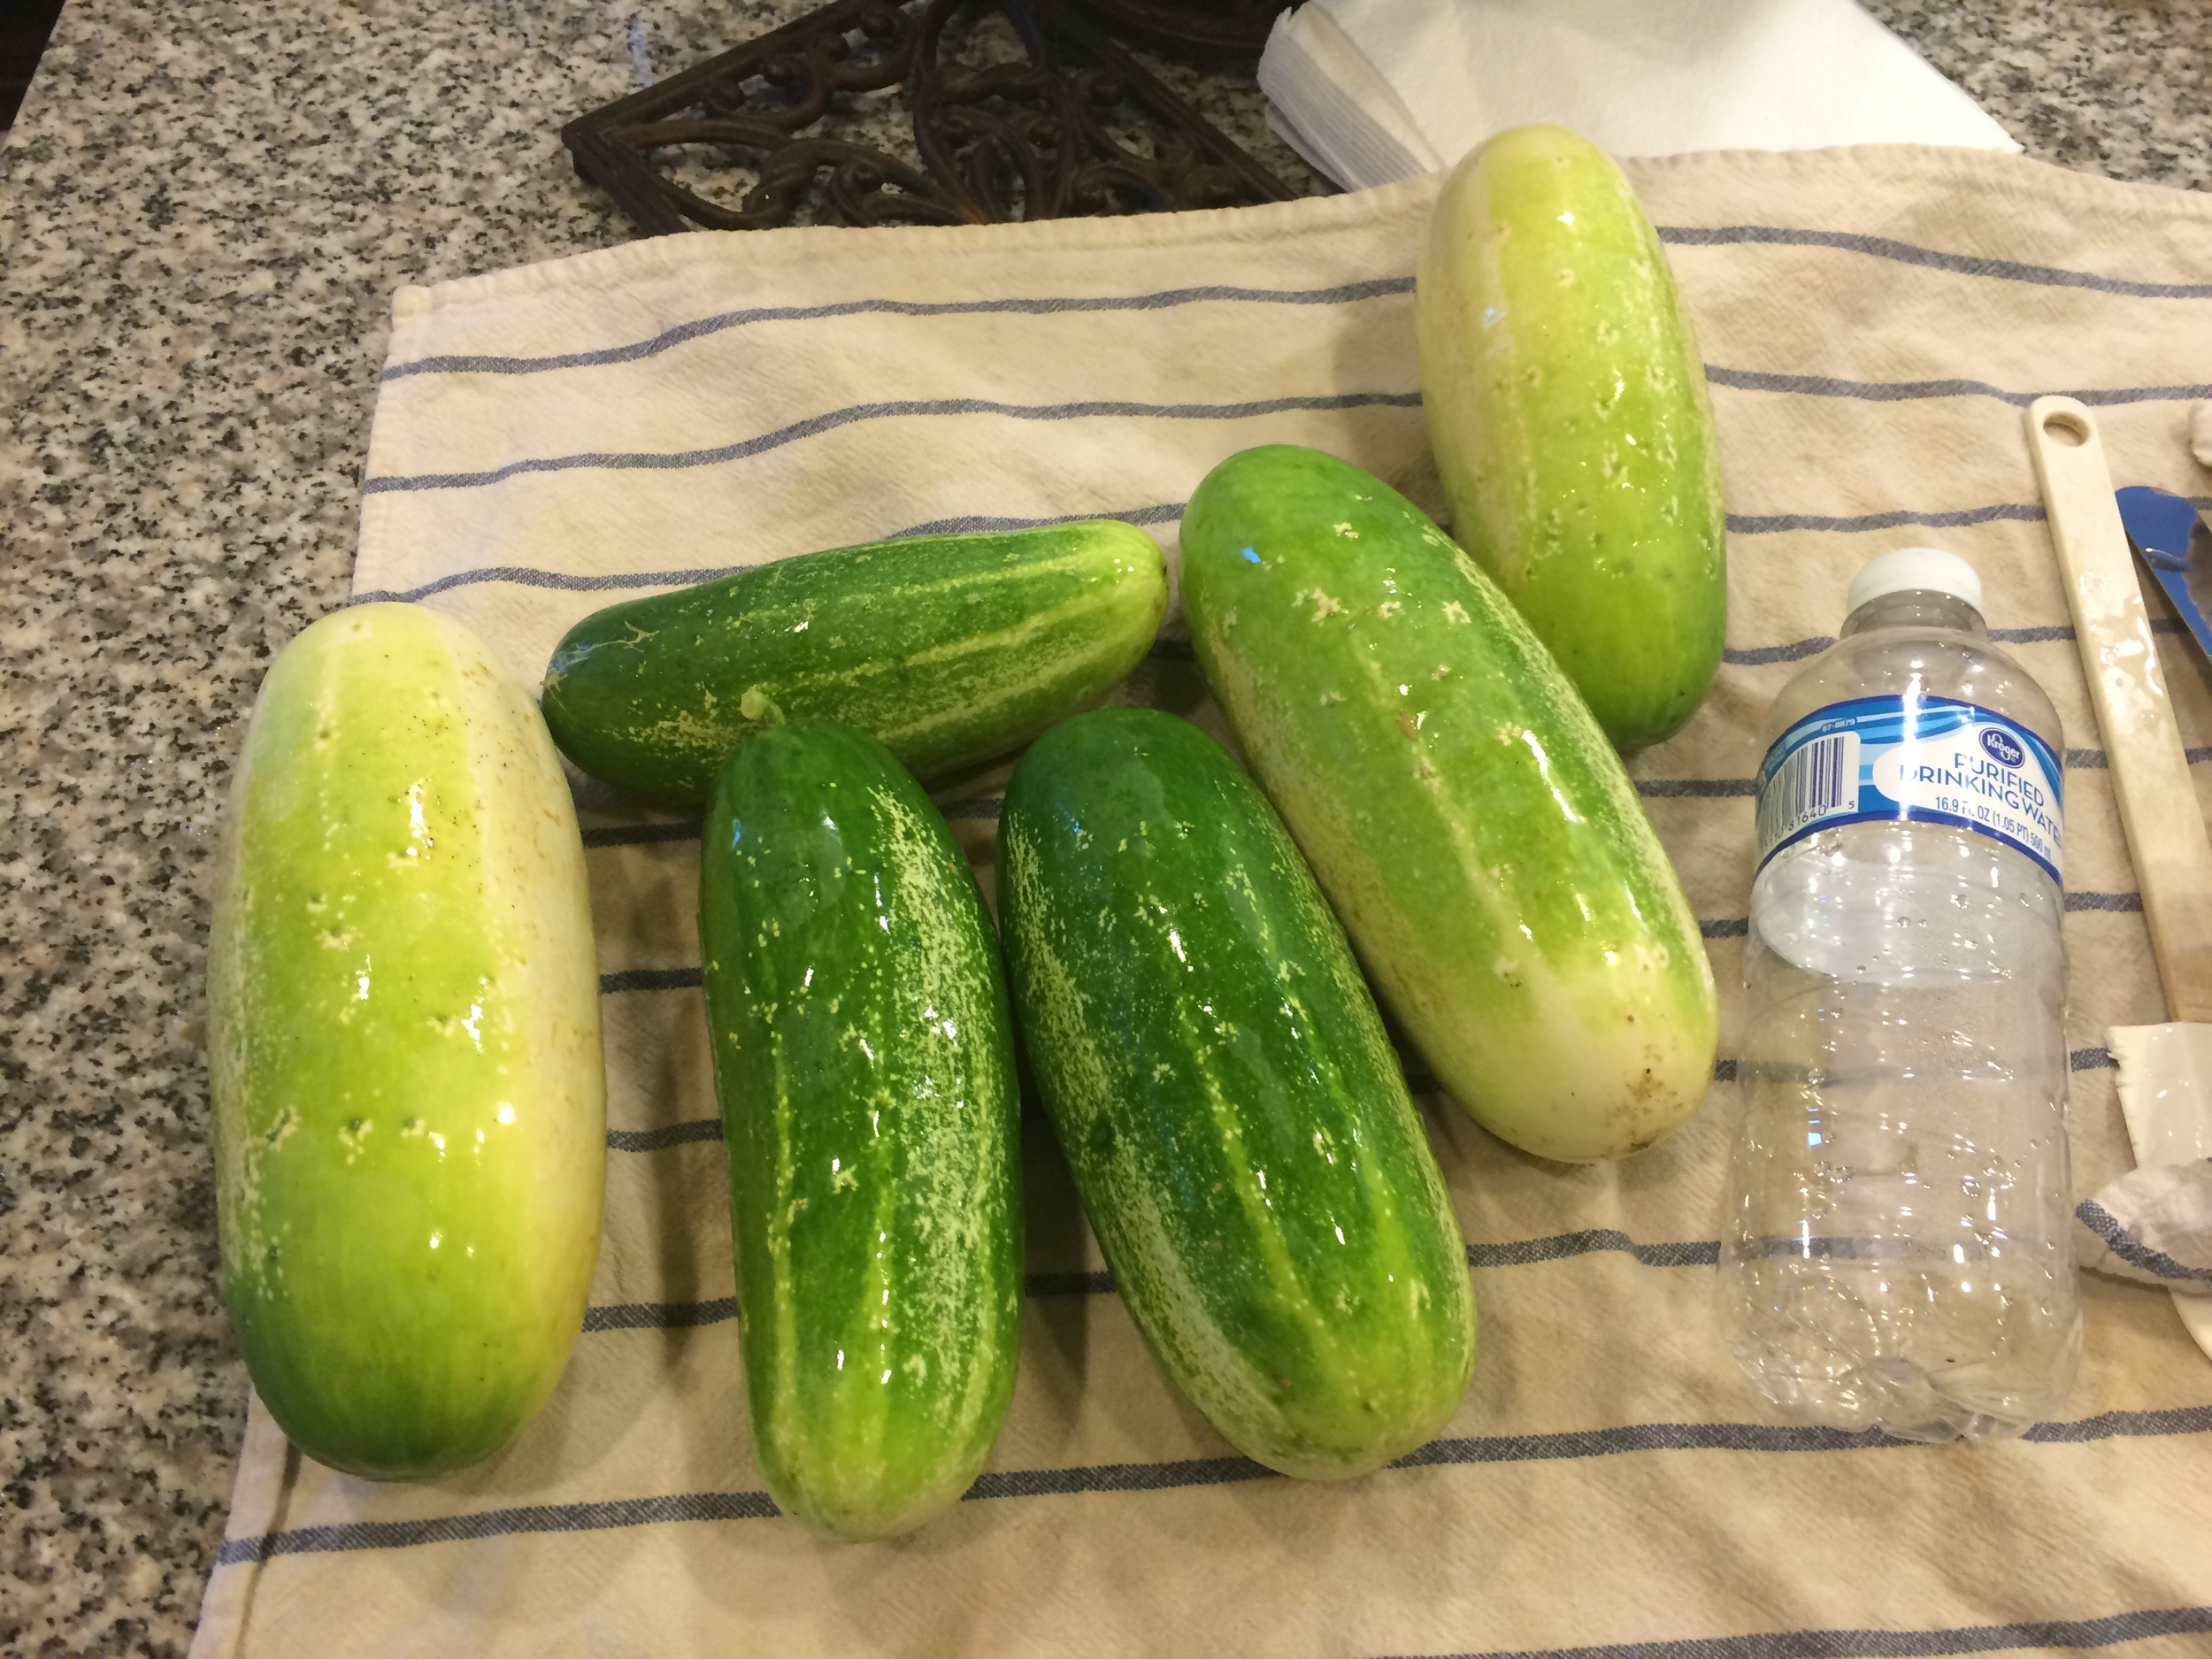
I have had tremendous results so far and this has been by far the easiest and lushest garden I have ever grown. At the end of the season, you can take up the decomposed bales and utilize them in your flower beds and around trees as compost.
For additional information on straw bale gardening, I recommend visiting Grow and Make and No Dig Vegetable Garden.
Happy gardening!

